Showing posts with label quilting. Show all posts

Monday, May 14, 2012

Tool Time Tuesday...Sewing Soap Dish

Sewing Soap Dish...What?!? You know me, I'll find anything to transform into something else and this time it was in the bathroom section of the hardware store.

I think a better name for it is Armchair Sewing Table...


Here it is in it's original state. It's a soap dish that hooks onto the edge of a bath tub and holds your soap. I'm thinking armchair, but if you do any hand sewing in the tub...this will work great for that too, LOL!!


Here's my thought process...you need a few STRONG magnets...not the crafty ones. They sell strong ones in the hardware store too.


Put the magnets on the bottom of the soap dish. They stick on their own because teh dish is metal


I found some of the strong silver magnets too.


The magnets on the back of the metal dish make the top part magnetic to hold your pins and needles in place!


If that doesn't work for your soap dish, use my ever popular magnetic business cards. You know I use these a lot. Click HERE for other projects using these magnets

The magnetic business cards have a sticky side...


and a magnetic side.


Peel and stick it to the top of the soap dish.


Now it holds your pins and needles too.


Now onto more fun with this idea. These clips are name badge reels. They hold a name badge and they also pull out with a string like a tape measure.


I found these in the office supply section of Walmart...4 for $1.88.


Clip the reel to the handle of the soap dish.


Open up the name badge holder that has a snap closure and add your little scissors.
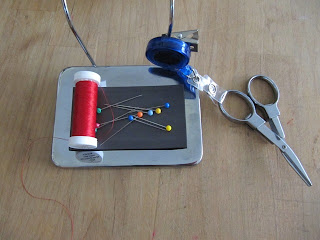

Now you can pull the reel to clip your threads, but never lose your scissors in the chair.


Ok, here's where the demise of this idea came for me :(

See that arm of the couch off to the left...that's where this adorable soap dish WAS going to fit. WAS is the operative word here. The couch is fairly new and I forgot that the little brown pillow is "attached" to the arm of the couch, so my little sewing helper doesn't fit here.


Works on the pillow though. I will find a place for this...seems like the armchairs in my house are a little too big.


Still wanted to share the idea though, just in case the soap dish, armchair sewing table, thinga ma bob might work for you.

It is great to have all your sewing needs in one place when you are doing your hand sewing and you'll never lose them in the couch!!

Happy Sewing,
~Karen~

Pin It

Make Your Own Handmade Fabric Labels...

I know we are all "Do It Yourselfers", so when we make things for others as gifts or to sell, why not have your own fabric label to add to what ever you make.

Here's a quick tutorial on how to make your own fabric labels, but you can certainly add your own special touch to them too.

You will need:
  • fabric...I used 100% cotton muslin
  • Freezer paper...found in the grocery store in the aluminum foil section
  • computer and printer

Here is my attempt at a "Sew Many Ways" label.


Here's where the idea first started over 3 years ago. Remember my daughter Courtney's high school senior project? It was a Underground Railroad quilt. If you look in the lower right corner, I showed her how to make a label describing all the blocks in the quilt. This is the same process.


Here is a picture of freezer paper. Dull on one side, shiny on the other. You will use this to stabilize the fabric as it goes through the printer. The shiny side is perfect for ironing on fabric and it is re-usable over and over. I also use freezer paper for English Paper Piecing my hexagons.


Iron the shiny side down on the wrong side of the fabric. Don't let the iron touch the shiny side!!!


Trim paper/fabric to 8 1/2 inches x 11 inches.


Fabric on one side, paper on the other.


I used Mircrosoft word to print what I wanted...experiment with your own computer.


I printed towards the bottom of the label, so I can fold it over...see below.


Iron the whole sheet to "set" the ink.


Cut out and just peel off the paper.


I folded over the side edges.

 
and then folded in half.


Perfect little label ready to sew into a seam.


If you want a flat label that can be permanently ironed on, instead of folding like I did, just iron the label to permanent fusible web, like Heat and Bond. Then the label can be ironed onto your item.

Have fun experimenting,
~Karen~

Pin It

Monday, April 30, 2012

Tool Time Tuesday...Quilt Ruler Suction Handle

Happy Tuesday Everyone!!  Today's Tool Time is not so much a tutorial, but more of a "fabulous find". You all know my 2 favorite stores are fabric stores and hardware stores. What I try to do is combine both loves into a TTT post.

Well, take a look at this beauty that I found in a Harbor Freight Tools store. ( I have no affiliation with the store, just sharing my "finds").

I know what you're thinking...what the heck is that?


For the normal construction worker, it's a great tool to suction to windows, doors, mirrors etc to carrying things around.


Two large suction cups lock down securely onto glass and then you can use the handle.


Tah Dah !!!! It suctions to a large quilt ruler.


Great handle for picking up the ruler from the fabric...


and the large suction cup areas provide equal pressure across the ruler when you press on the handle, so no slipping of the ruler.


I know the suction cups are large, but you can still see the lines on the ruler just under the handle if you cut this way. See my finger pointing to the line?


or you can easily see the marking on your cutting mat too.


This handle is the best purchase. I just love the ease of picking up the ruler with a handle.

Here's the BEST part...it was $5.99. AMAZING!!!

I bought it in the store, but click HERE for the link I found to their site! There is a single handled one too for square rulers. I need that one too. They didn't have it in the store we were in.


Hope you love this idea. Let's keep this our little secret from Harbor Freight. If they find out we're using their tools for sewing, they might raise the price! LOL

Have a great Tuesday,
~Karen~

Pin It

Saturday, January 21, 2012

Bow Tie Quilt Block Tutorial...A "Charm" ing Block

The bow tie quilt block dates back to 1898. I found one quilt in the book "Vintage Quilts...Identification and Pricing" by Maggi McCormick Gordon that was dated 1900.

This block is very easy and can be made in period fabric or jazzed up with your favorite modern fabric.


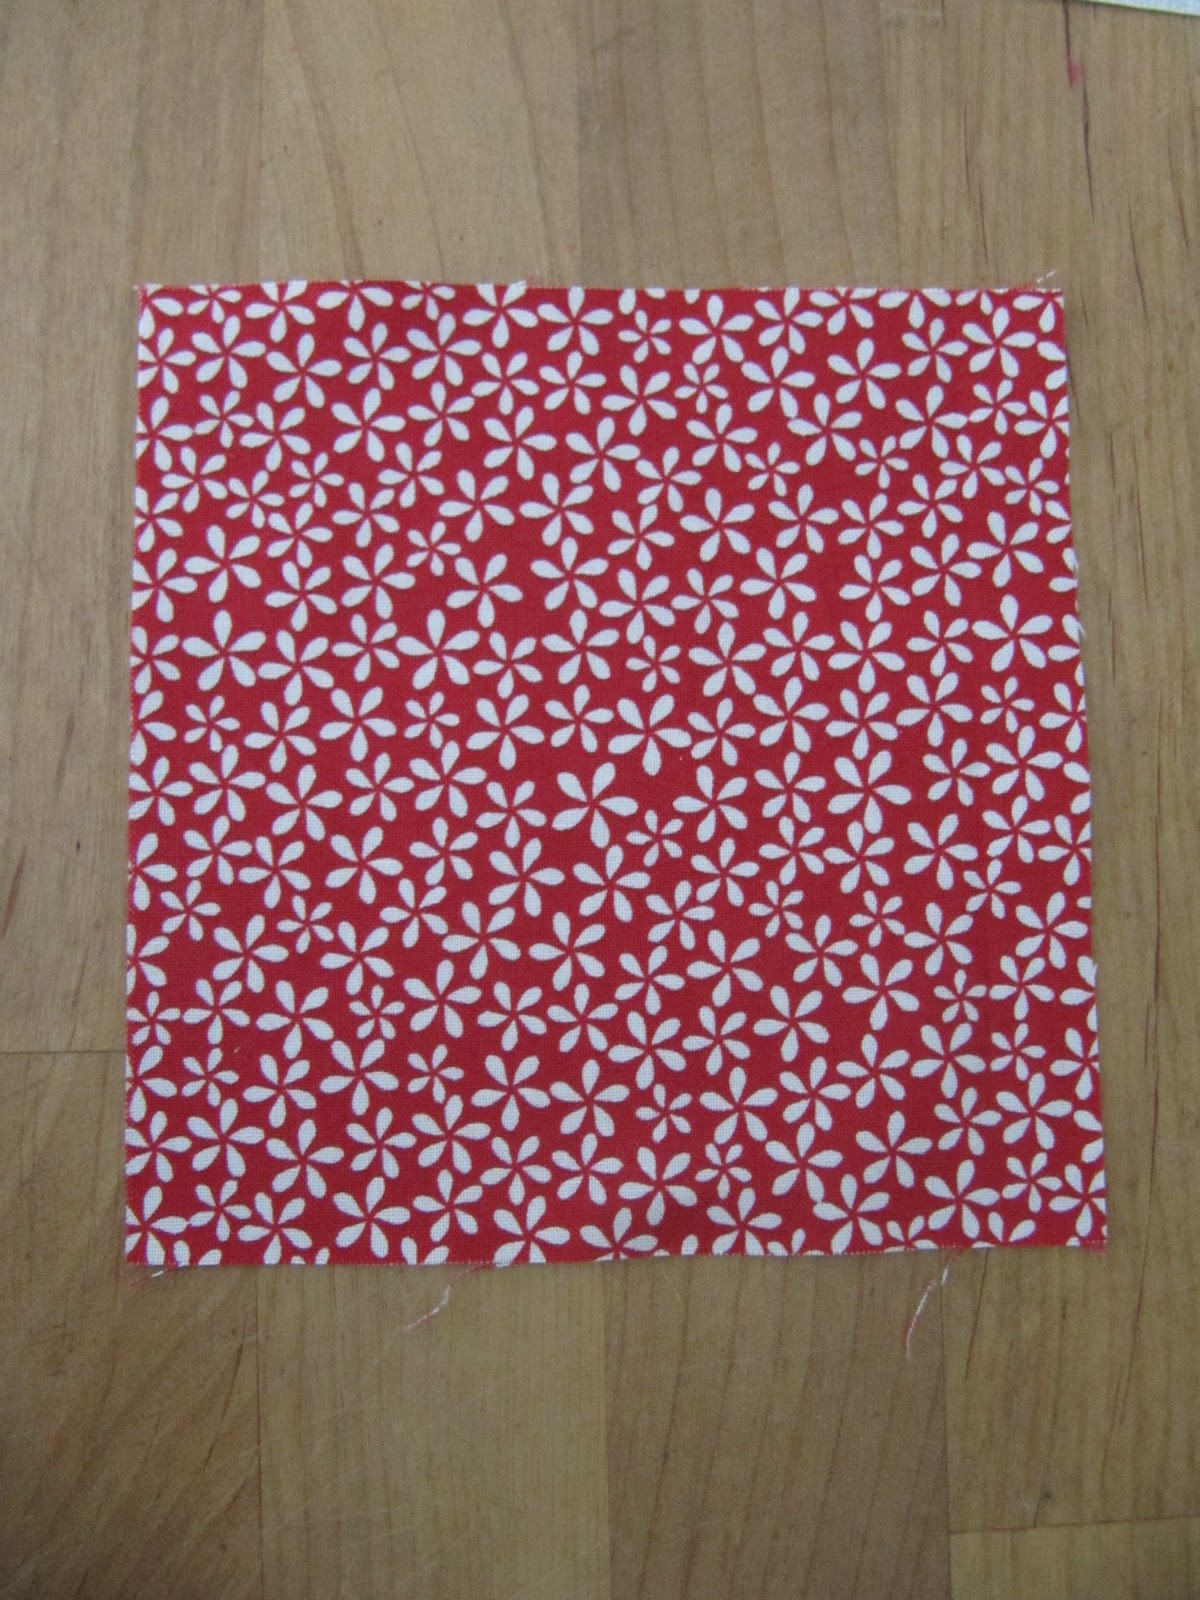
I used 5 inch squares, so all your charm packs you have tuck away for a project will work great for this.

For each 9 1/2 inch block (9 inches finished size when sewn with other blocks) you will need...
  • 3 - five inch colored squares
  • 2 - five inch neutral squares or background fabric. I used white.


Take one of the 5 inch colored squares and


cut it in half, then half again. You will end up with 4 squares at 2 1/2 inches square.


You will only need 2 of the smaller squares for each block.


Place one smaller red square in the corner of the 5 inch white square as shown below in the picture...right sides together.


There are 2 ways to sew this section...and there is a bonus block with each method.


Pencil method...

take a ruler and draw a pencil line from corner to corner diagonally.


If you don't want the bonus block, you're done. Just need to sew on the pencil line.


For the bonus block, take a quilt ruler and place the 1/4 inch line on the pencil line...see it under my finger


now draw another pencil line. This will eventually be your cutting line.


The first line, from corner to corner is sewn...black thread so you can see.

The second stitch line for the bonus block is sewn 1/4 inch away from the second pencil line. I use a 1/4 inch presser foot.


I am pointing to the second pencil (cutting) line here. You need to sew 1/4 inch away from that.


My 1/4 inch presser foot is lined up with the line.


Two stitch lines sewn. The pencil line is your cutting line


"No Pencil" method...

You will sew from corner to corner, but use your machine lines as guide. Start at one corner and have the lower corner point follow the "zero" line on your machine.

If you don't have lines on your machine, you can "eye" this to the lower corner, because the square is small.


Done...


For the extra bonus block you need to sew 1/2 inch away from the first stitch line. I use my machine top as a guide. Mine has the 1/2 inch line to the left of zero, but no guide line all the way up to the needle.


So I use a rubber band as a removable guide.


Line it up at the 1/2 inch mark on the throat plate.


Now sew the second line. Guiding your first stitch with rubber band


Done...without a pencil line.


Pencil line method...


No pencil line method...


Cut on pencil line...


Guesstimate cutting up the middle on the "no pencil line".


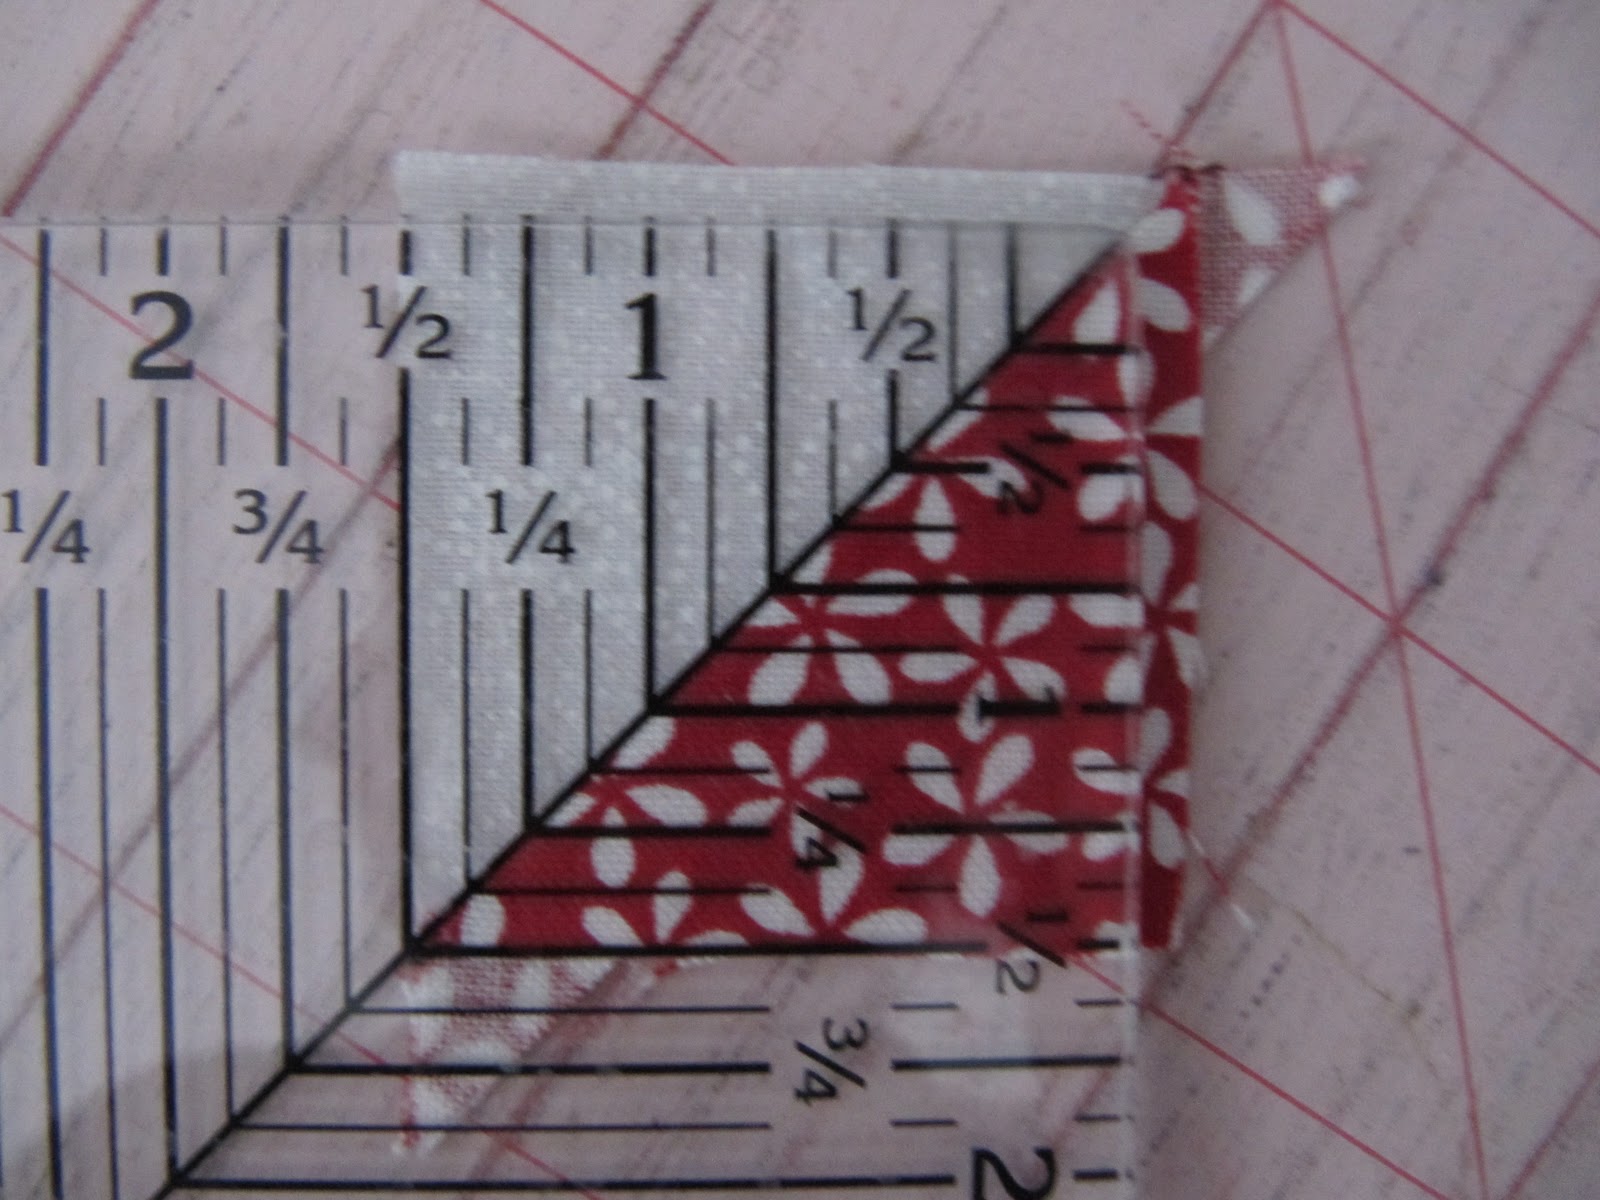
See your 2 little bonus half square triangles?


Press all seams.


then open up and press to the red or colored fabric.


If you want to be super accurate, you can square up all the squares.


The little bonus half square triangle blocks are 1 1/2" when trimmed.


These would make an adorable doll quilt, pinwheel blocks, sashing squares, borders etc...

You can click HERE for another post I did on extra half square triangle blocks for more layouts


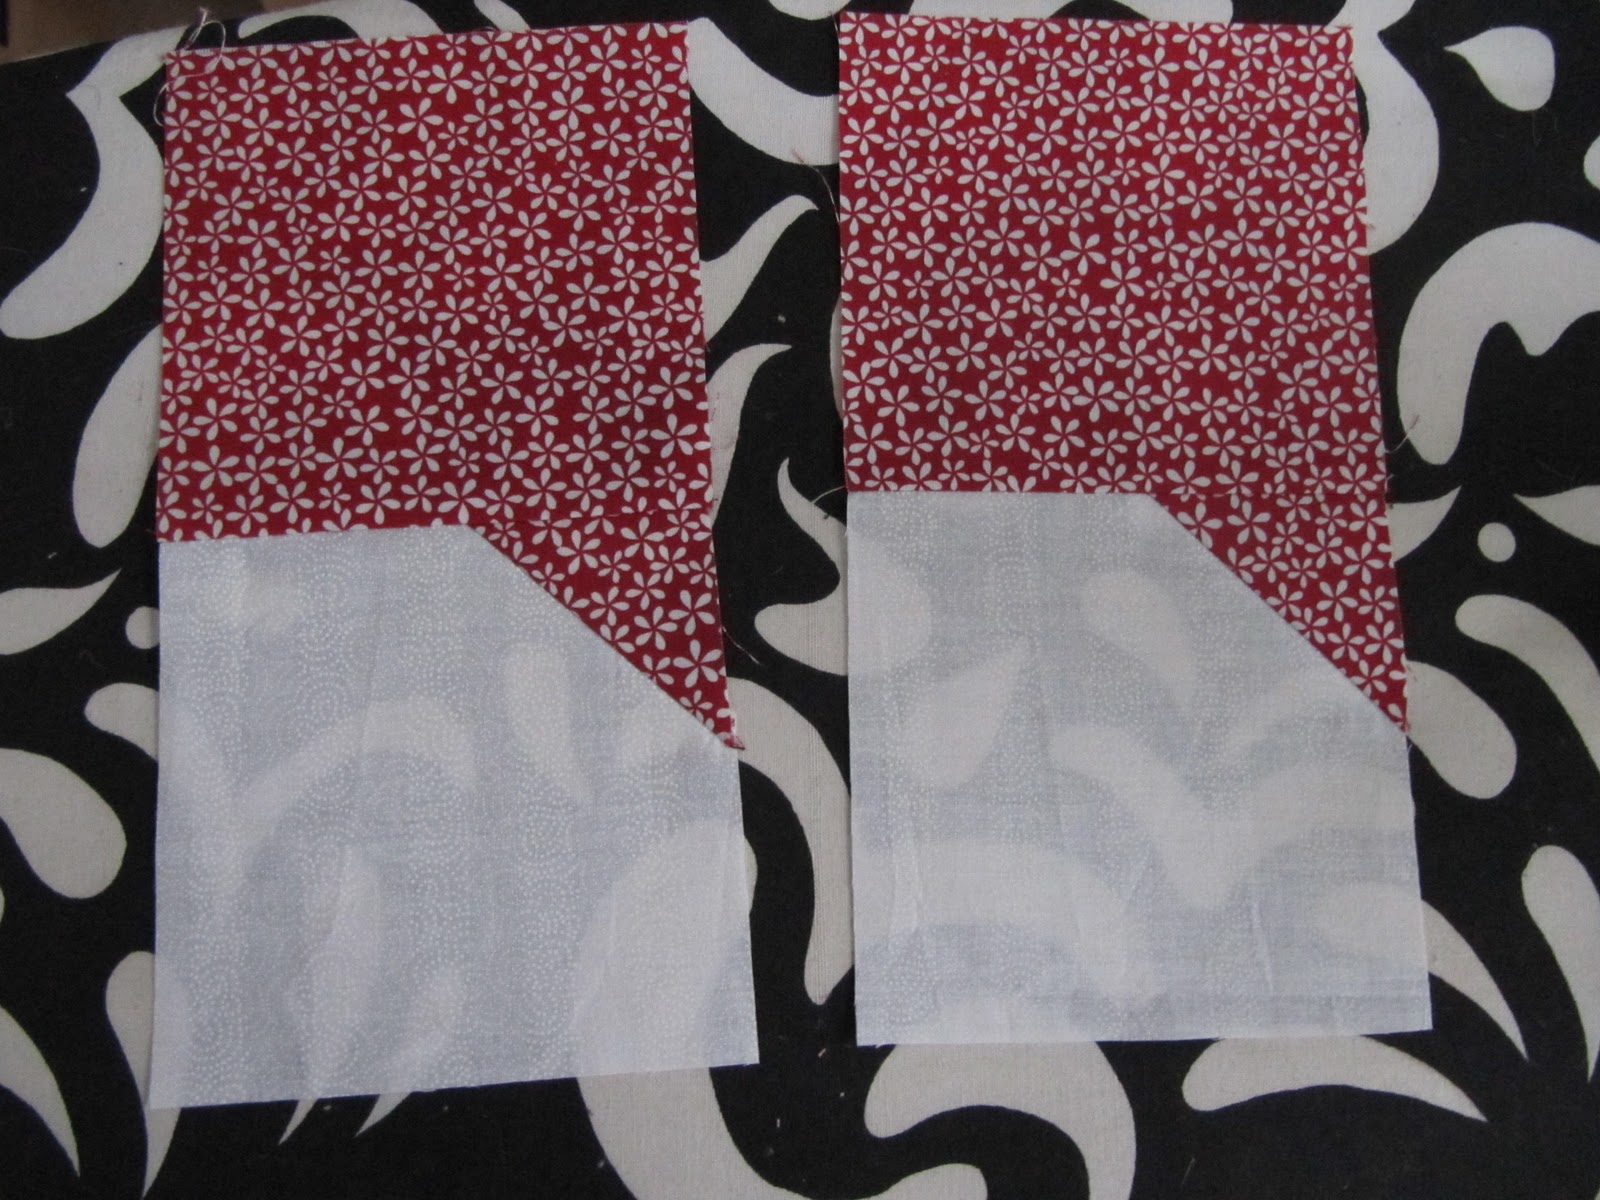
Now take one solid colored square and place on top of one white square...right sides together.

and one of the white squares on top of the red square...as shown below.


Pin to secure, then sew a 1/4 inch seam on the right side of the squares.


Press seams...


Then fold back and press to the dark fabric.


Line up rows in configuration below.


Fold top row over onto bottom row, right sides together.


Match seams.


Pin to secure.


Sew 1/4 inch seam.


Press seam...open up and iron flat.


Isn't she cute?


There are so many layouts for this block...not to mention if you reversed the color pattern. Meaning a small white square on a larger colored square.

If you go to your "search" area on your computer and type in bow tie blocks, bow tie block layout or bow tie quilts...there is so much inspiration.

Have fun with this block,
~Karen~

Wisata Danau Toba - Sumatera Utara

Danau Toba adalah salah satu destinasi wisata alam terbesar di Indonesia dan terletak di Sumatera Utara. Ini adalah danau vulkanik terbesar ...