Saturday, December 31, 2011

Painting Brick...

I know...painting brick! Very scary to take that first stroke of the brush, but boy am I glad I did! Our family room was added to the house before we purchased our home. The lower level of the wall is a brick foundation, then the wall is set back a little to form a ledge. A lot for the eye to settle on. I lived with the two tone wall because I was afraid to paint the brick...no more though.

This "before" picture is last year...Christmas 2010. See the two colors...tan walls, beige brick and then tan radiators.


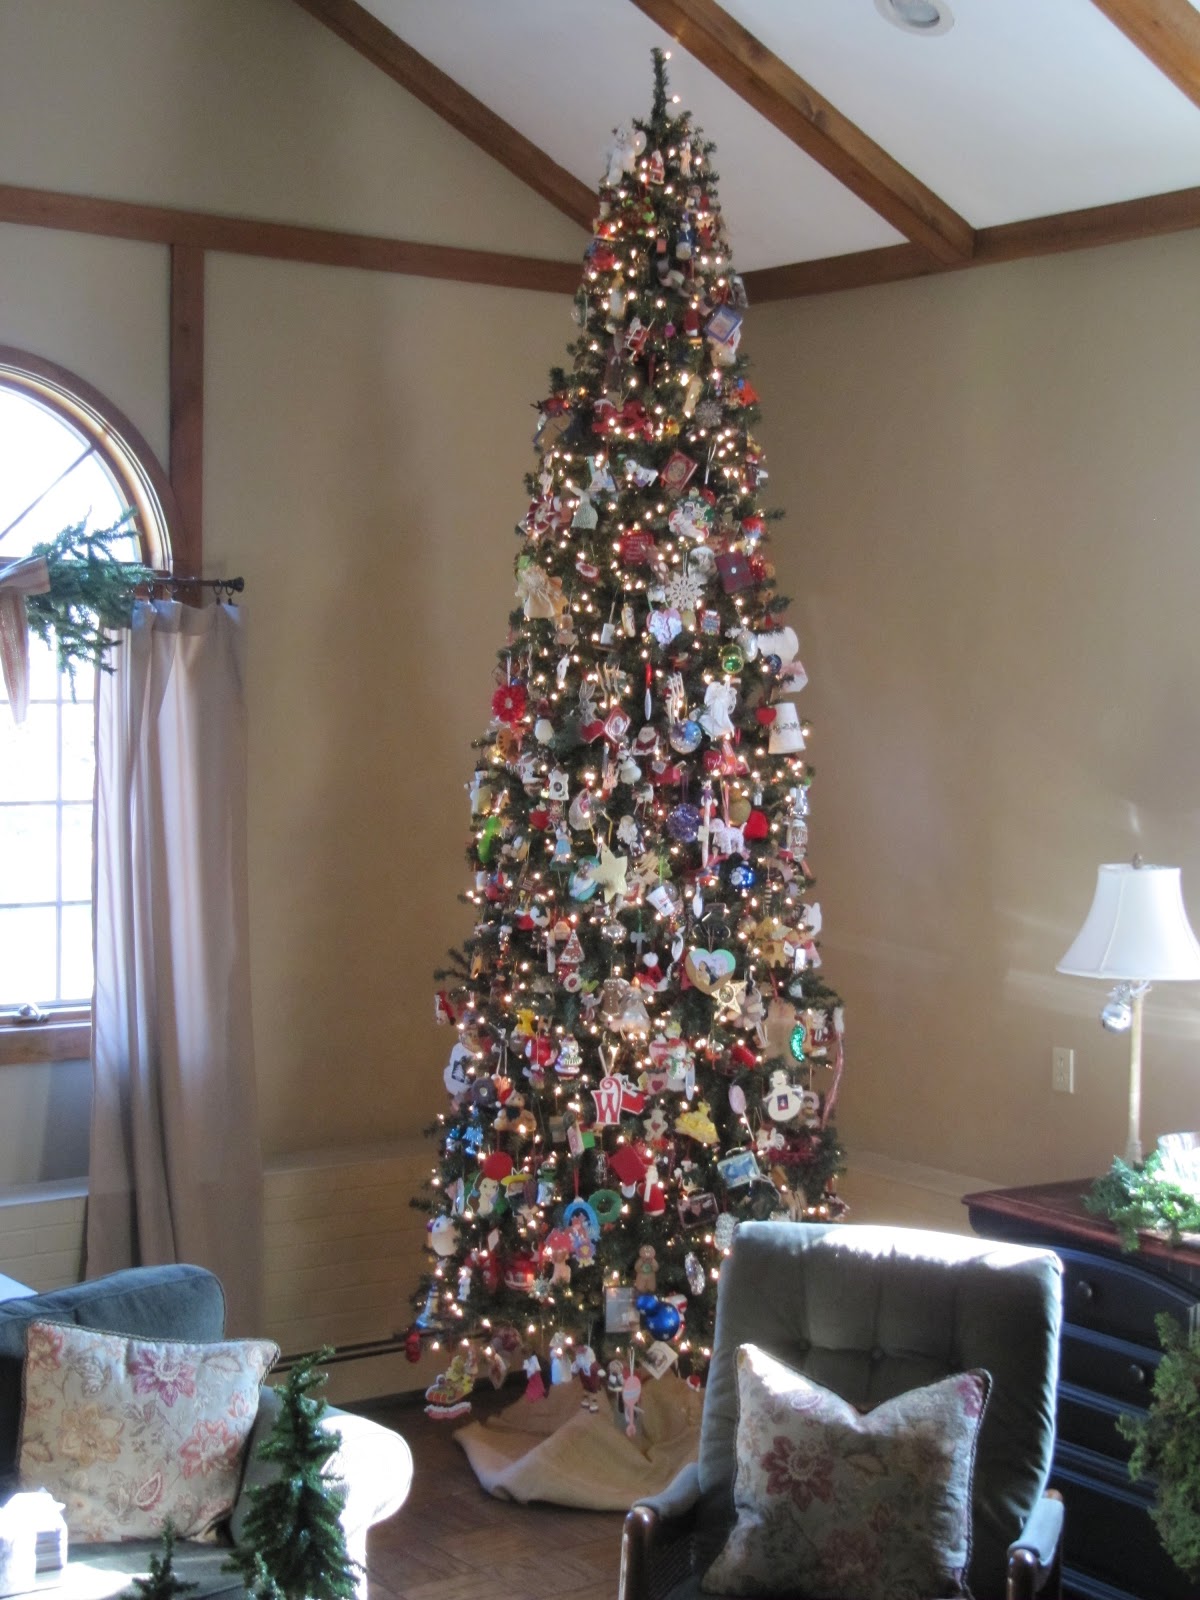
Here's the "after". This picture is this year...Christmas 2011. I didn't take this picture for this painting post, but you can see the difference in the walls behind the tree...much calmer for the eyes. The color flows evenly.


This is a close up of the before.


First step PRIMER. This was the AHHHHH!! moment when there was no turning back.


Roll on the primer with a thicker roller so it gets into all the grooves.


When I painted with the tan paint, I did use a brush for the mortar areas to make sure it covered well.


Here's the after...much better all one color!


Kind of makes that ledge wall disappear a little. Well, not really disappear, but it helps!


If you've been contemplating painting brick...just to let you know...I'm so glad I did it!!

Happy Painting,
~Karen~

Thursday, December 29, 2011

Thoughts on Thursday...

I started decorating for Christmas the Friday after Thanksgiving. I'm starting to get the urge to take things down. However, I've never put any decorations away before New Years.

Next week I have Wednesday and Friday off...by then the house will have that "blank" look which is what I need after all the "things" are put away.

How about you???
  • when do you take your holiday decorations and/or your tree down
  • do you get the itch to un-decorate
  • do you need the "blank" house look too
Have a great Thursday,
~Karen~

Monday, December 26, 2011

Tool Time Tuesday...Recycled Office Chair

Happy Tuesday everyone. I hope you had a wonderful Christmas weekend with your loved ones. We made lots of special memories with family and friends again this year!! Love this time of year.

The end of the year also brings on the feeling of organization...well for me organization is any time of year, but more so after the holidays.

A few months ago my husband needed a new office chair. Our cat considered the top back of the chair her scratching post, so the chair had seen better days. My husband took the chair apart to put it in the garbage for pick up...however, my family and friends know to ask before anything goes in the trash!!

You guessed it...I saved everything put the scratched up cushions and the arms of the chair!!


The project today uses the wheels from the base.


If you purchased these stem casters separately, they can be pricey. I've seen them for over $30.00 for a set.


I had a wooden box that I kept under my desk to organize paper, but needed a easier way to pull the shelf in and out.

Found a drill bit to match the size of the stem on the casters and drilled four holes on the bottom of the shelf.


Push the casters in...


and tapped into place with a hammer.


until it's flush with the wood.


Now it's so much easier to roll the whole shelf in and out when I need it.


I'm not even sure where the box came from...in the past I added the metal brackets to hold a shelf.


Perfect place to use my old stand by drawer system. I recycle old Propel water bottle boxes that I cover with fabric.

I measure the height of the box and cut a strip that fits around the whole box. I simply hot glue the edges. You can also use regular glue or Mod Podge.


All nice and neat.


NOT...neat below, but not on top!


All those boxes are now my tool box...a girlie tool box


Each box has screw drivers in one, pliers in another, then wire, clamps, drill bits etc...


I've shown this handle idea before, but just wanted to share it again. They are pipe clamps. Those little thingies that hold a pipe up on the wall or ceiling.


Here's the clamp...cheap too. I think $2.75 for a bag of 10.


Center it on the box...


and use a nut to screw it on the back to hold it in place.


The base of the chair is now missing it's wheels, but I think I have a plan for it...I'm thinking the base for a small table. The bonus is that the chair base has that lever that moves the chair up and down. Hmmm...I need to find a neat reclaimed piece of wood for this table.

The old meets new coffee table may be coming in the future.


If anyone received a new office chair for Christmas, don't throw the old one out yet.

Remember...think before you throw.

Have a great day,
~Karen~

Thursday, December 22, 2011

Thoughts on Thursday...

I'm still wrapping...haven't had that AHHHHHH moment yet!

How about you? How's your Christmas list of "Things To Do" going?

Relax and have a cup of tea...if it doesn't get done...it doesn't get done!!

Have a great day,
~Karen~

Monday, December 19, 2011

Tool Time Tuesday...Easy Frosted Glass Projects

Happy Tuesday!! I've seen lots of frosted glass projects on the Internet, but they all use the acid etch cream. You know me...I need something quick and easy and of course from the hardware store.

Here's a quick look at two projects I made before I left for work Monday morning.


This is the magical spray I used to make them.


I found this in the paint section in Walmart and Home Depot.


semi transparent for privacy and decoration...the back of the can has full directions, but it's so easy.
  • clean surface with soap and water...dry
  • add stencils or stickers if using for decor
  • spray a few thin wet coats a minute or 2 apart
  • let dry 10 minutes
  • done, dry in 10 minutes!!!
  • stinks a little when wet, so spray in the garage or outside


use any glass...


use sticker stencils to create the look where the sticker is going to be clear and the object will be frosted. Use a hollow stencil where that will be frosted and the object stays clear glass. You need to block out the rest of the object with something if you just want the stencil to be frosted


I centered the stickers on the glass of an old frame


and used office dots to stick to a glass dish.


really press down the edges, so the spray won't go underneath the paper stickers.


10-15 minutes later the frosted appearance shows up.


peel away the stickers.


The top corners of this frame had some residue on there because I didn't wash it first. The frosting didn't fully take there, but still looks like a decoration.


difficult to capture the clear and frosted parts in a picture.


but super cute in person.


add a bow to the frame and it's a quick gift.


add a votive candle and the glow is very pretty through the frosted and clear circles.


here are a few suggestions and tips...
  • glass squares sprayed with a single monogram letter for coasters
  • personalized vase
  • use old jars and frost the names for sugar, flour, coffee and tea for a canister set
  • frost a big jar for pet treats
  • frost decorations on mirrors, windows, outside of shower stalls etc
  • can't be used on things that will be heated over 200 degrees
  • can't be used on things with constant water contact, but can be hand washed
  • you can remove it from glass with acetone or lacquer thinner
Have fun with this...it's so easy and fun to create and experiment. I have no connections with this product...just passing on something new I've found.

Have a great Tuesday,
~Karen~

No Reply...No Email Address...Can't Respond Back


Hello everyone...hope you had a wonderful weekend.

I thinks it that time again where I do my little shout out to all the wonderful bloggers and commenters who are "No Reply". I've noticed hundreds lately on my blog.

What is No Reply you ask? Well, if someone leaves a comment on any blog that comment goes to the email inbox of the recipient. When the blogger tries to respond back to the comment, the return email address says "No Reply" which equals "no email address, which equals "no reply back" :(

You may think your blog profile is set to show your email address, but it just takes 2 seconds to double check. I get so sad when I know people are blogging all over the world and there isn't an email address attached to their account to enjoy the communication back and forth between bloggers.

Go on...just check...for me!!

Go to your dashboard (I know sad me still has the old one, but shhh don't tell, I don't like the new one)

Click EDIT PROFILE


Under the first section called Privacy, make sure there is a check in the box that says...SHOW MY EMAIL ADDRESS.


Most important part...scroll down to the bottom and click the SAVE button!!


That's it...2 seconds and now you're open to the wonderful world of blogging.

If you don't want your regular email address to show, create a new email address just for blogging!!

Hope this helps to open up new conversations between bloggers and the commenters. Communication is the most important thing.

Have a great day,
~Karen~

Sunday, December 18, 2011

Sew Darn Crafty Party...Theme Week 45 Last Minute Gift Ideas


Happy Sunday...the last weekend before Christmas. I know we all try to get our handmade gifts done long before this, but it never ceases to amazes me how much I proCRAFTinate this time of year!! LOL...

Today's linking party may help some of us out. Link any project that you have from your blog, no matter how old, that we might use for a last minute holiday gift idea.

Could be anything from...
  • sewing
  • crafting
  • baking
  • wrapping ideas
If you want to add the button to your blog...Click HERE for a tutorial for adding a button


If you're NEW to Sew Darn Crafty, then grab a cup of something tasty, sit back and join in on the fun (starts Sunday and lasts all week long at Sew Many Ways).

WHAT IS SEW DARN CRAFTY...
  • "Sew" for anything to do with sewing,
  • "Darn" for anything to do with knitting. I always think of darning to do with knitting, but in my case "darn" usually is similar to the word I say when I mess up crafting!!
  • Let's not forget the word "crafty"...that can mean just about anything we do to create.

WHAT IS A LINKING PARTY...

So now we all know what Sew Darn Crafty means, let's explain a linking party again. I subscribe to a linking service, which provides the ability to link thumbnail pictures on my blog. The picture is a link that other bloggers provide to share their projects.

Two things can happen at a linking party...looking and/or linking
  • you can be greatly inspired by wonderful projects, ideas or vacation pictures (looking) and/or
  • you can share what you've been up to (linking)
If you want to be inspired by all the great ideas...just click on a picture and it will take you to that post from a wonderful blogger willing to share her thoughts and ideas.


HOW AND WHAT TO LINK TO THE PARTY...

Sew Darn Crafty is all about YOU!! Show off your projects, share a tutorial, show us your vacation pictures, share a family favorite recipe...share anything. Not only does linking inspire us all, it also brings lots of new people to your blog for a visit. Click here for past parties and lots of inspiration

Easy steps to join in on the fun...

  • link up to the specific project post, not your whole blog. Makes it easier to link right to that post and not  search through all your entire blog. To find the http address to a specific post, just click on the Title of your post.
  • link as many projects as you'd like...old or new
  • anything goes...cooking, sewing, knitting, crafts, organizing, remodeling projects, vacations, parties etc...
  • visit other links to share some blogging love! You know we all love comments!
  • grab a Sew Darn Crafty button for your blog (on my right side bar) or just link to the party in your post.
  • the more we share, the more people will join and then there's more inspiration to look at!
  • linking is open til Saturday night, so plenty of time to join in
  • just click the "click here to enter" button and follow the easy steps

Have fun linking up! Don't forget to come back and take a look at all the great projects during the week,
~Karen~

Wisata Danau Toba - Sumatera Utara

Danau Toba adalah salah satu destinasi wisata alam terbesar di Indonesia dan terletak di Sumatera Utara. Ini adalah danau vulkanik terbesar ...