Wednesday, December 15, 2010

Coffee Table Makeover...Mod Podge Style

Did you ever live with a piece of furniture that you really don't like for a very long time and then all of a sudden...on a whim...you want to transform it. Well, that's the story of a coffee table in our family room.

When my parents moved in with us, they had 50 years worth of furniture that they had collected while traveling the world with the army. My mom was also a yard saler/thrifter and loved her deals. They had several teak dining room tables that they bought while thrifting years ago. This table was one of them.

However, we didn't need a dining room or kitchen table, so a few years ago I switched out the legs of the dining table for the legs of a coffee table. It works great as a coffee table...large enough for all our family gatherings and parties. The thing I hated the most...my dad varnished the crap out of it. Sorry about that, but I couldn't explain it any other way. The wood was so shiny, you need sunglasses if the light hit it. Ok, maybe not that shiny, but not the natural wood look that I like.

What are my quickest options...sanding (no), chemical striping (no), painting (no) because that would require sanding and priming. What's the answer...MOD PODGE and an old dictionary!

Here is the semi before. Forgot to take a full picture of the table before I started gluing.


Guess when I started this project...the day before Thanksgiving, when we were having 25+ for dinner. I told you it was a whim.


Boy was I keeping my fingers crossed with every page I glued down. The girls were home from college and all they kept asking was...Do you think daddy will like it? Well, maybe not looking like this in the middle of the project...but I knew it would be great when it was all dressed with accessories. So I glued faster...


tore more pages out...


and glued some more!


Looks good, but needed to dry to get the full effect.


and here it was all set for Thanksgiving, just a few hours after I started.


What do you call your TV remotes? We call them clickers and we have a box of them...tv, dvd, vcr, wii.


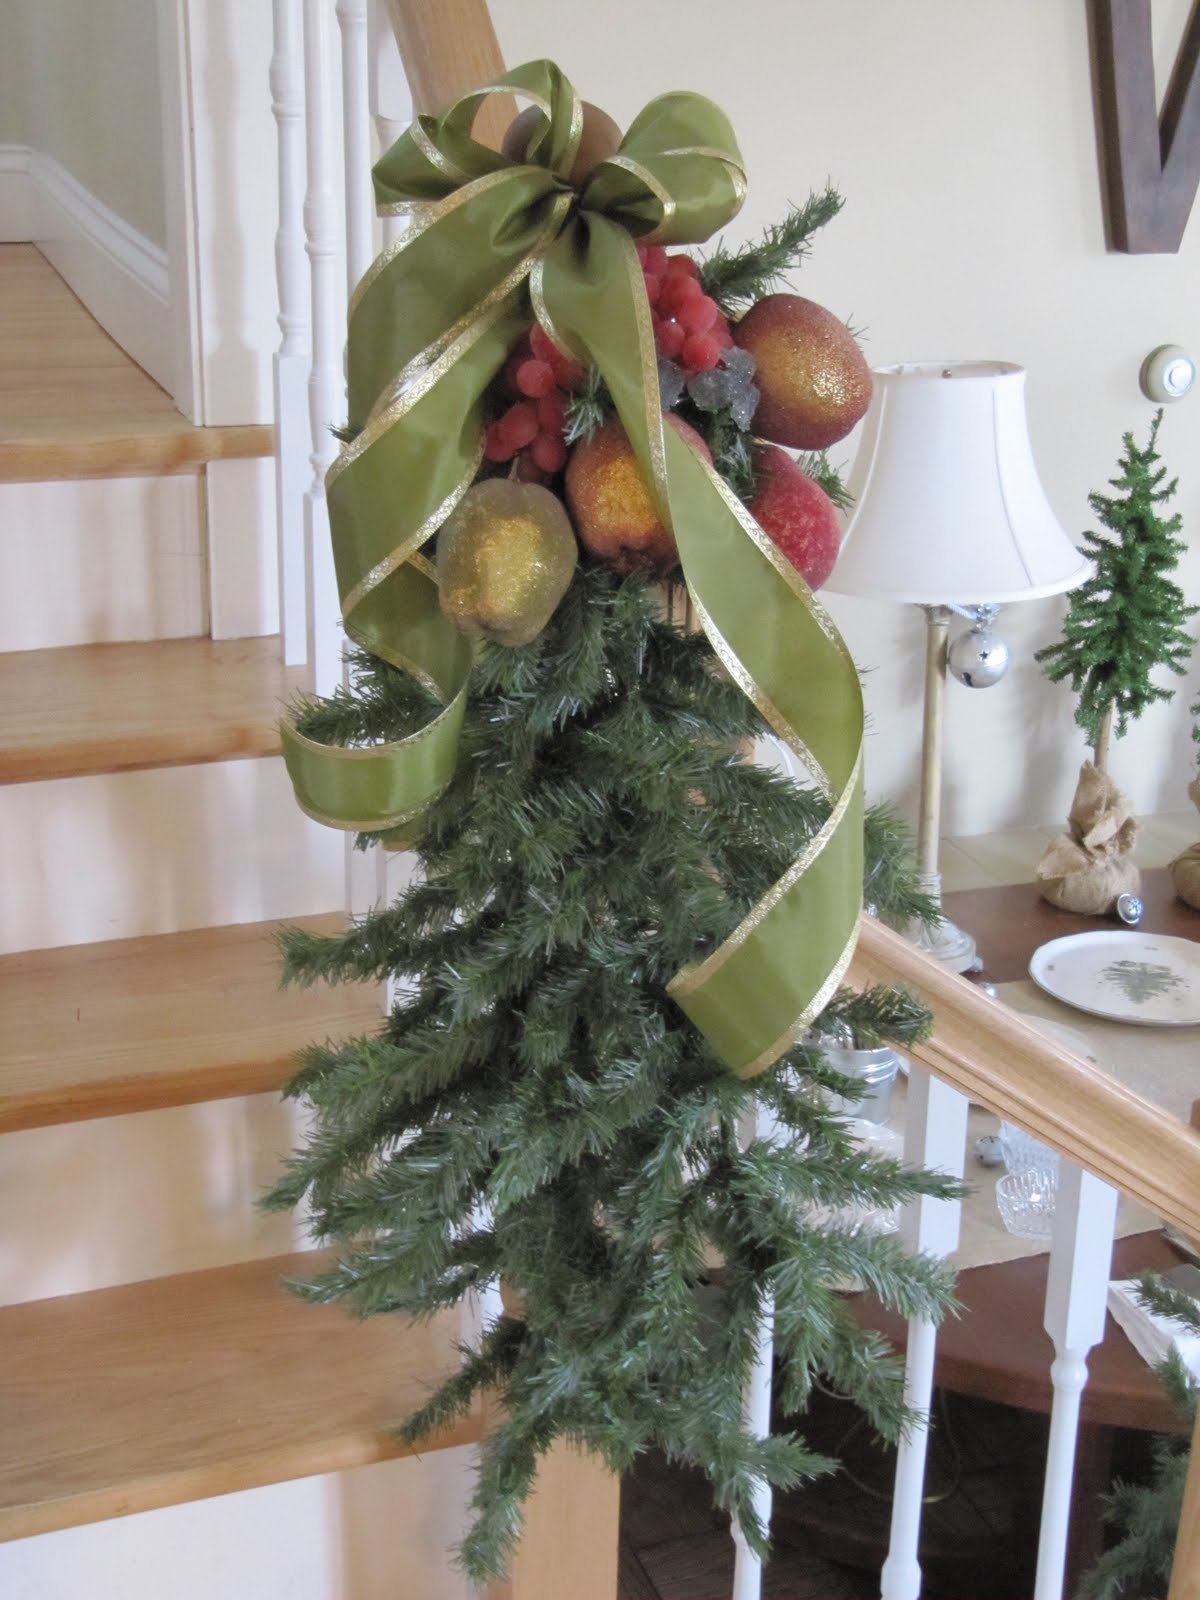
Here it is all set for Christmas. For last weekend's party, it was covered with food and drinks and held up perfectly. We have another party this weekend, so I'll let you know.


I always put a wreath on the table...it adds some color and when we have a party, I add a pedestal plate for appetizers or a punch bowl for egg nog in the center of the wreath.


I had mentioned before I am a clearance woman...I bought 4 of these wreaths at a gift shop for $1.00 each...woo hoo!!


Here's the link to the Tool Time tutorial where I made these boxes. More ideas over at that post, so don't miss it! That galvanized plate is a switch plate from the electrical section in the ( where else) the hardware store!


When I was tearing out pages, I made sure (thanks to Courtney) to pick a few words that had meaning to our family. The girls danced their whole life together and Kelsie is still dancing at college.


Courtney is a graphic design major.


Hubby's favorite sport...Golf!


Courtney's boyfriend Courtland loves every thing to do with music.


and mine is sewing...I love to sew, but if they had the word blogging in this 1952 dictionary, I would have ripped it out and glued it right in the center! Our last name is in the dictionary, so that's fun to have that on there too.


Remember when you are using Mod Podge...brush on a coat of glue, add your paper and then add another layer of glue right on top of that. Once it dries, the top coat acts as a sealer to protect the paper.
space
Hope you can give this a try. You can use any paper...scrap booking, old books, copies of photos etc. If you want to do a smaller project, try a tray or side table to start.
space
Take care,
~Karen~


I'm sharing this post at It's a Hodgepodge Friday...come join the fun! Also sharing at Just A Girl and Tatertots and Jello and Funky Junk Interiors.

Monday, December 13, 2010

Tool Time Tuesday...Handmade Gift Boxes

Hi all my blogging friends. Tuesday is here again and I have another Christmas Tool Time idea for you. Today's tool is a sewing tracing wheel. If you have ever sewed clothing or known some one who has sewn clothes, you have seen a tracing wheel. Well, I haven't sewn clothing in many years, but I do use my wheel for crafting...to help me make boxes like this.


These are tracing wheels. They are used with tracing paper. When you place a sewing pattern on fabric, you will use the tracing wheel and paper to mark certain aspects of the pattern onto the fabric.


Here's a close up of the wheel itself. One has tiny teeth and the other has a smooth edge. They aren't sharp enough for cutting, but the edge will make a mark on paper, cardboard or card stock.


Not only is today Tool Time, it's also recycling day. I was given Tea Forte as a gift. The tea delicious, but I just love the shape of the tea bags too. This picture below is the wrapper the bag comes in. I knew I loved the shape, so of course I saved the wrapper. I really should go to Garbage Anonymous.


I just love the look of this burlapy (that's a word, right?) brown paper card stock. I traced the box template on the card stock.


Then I used a ruler to line up where the score lines were on the template and used my tracing wheel to score the lines.


See the indentation? Scores the paper without going through.


Here are all the lines marked on the paper. I just followed where the lines were on the paper template.


The edges fold easily with the scored lines.


Bend all the corners and flaps.


To put the box together, you can use a dab of hot glue or double sided tape.


Seal the sides, but don't seal the bottom until you are ready to fill it with a little gift.


Tie a little loop in a ribbon, cording, string or yarn...


Snip a tiny hole in the top. Don't snip too much or the knot in the ribbon will slip through. Push the loop through leaving the knot inside the box for a hanger.


Add your own decorations.


Now you have the perfect gift box for that extra special present. Great to hang on the tree too.


I know not everyone has Tea Forte to use as a template, but this is more of a tutorial for the concept of making boxes with the tracing wheel.
space
However, I do have a wonderful site that I have been using for years and want to share with you. Mirkwood Designs offers templates to so many styles and shapes of boxes. Just click on this link and enjoy all her wonderful creations. Once you are on the template page, scroll down and pick a design that you like. Click on the design and just print the template. So easy!! There is also a pyramid box which is similar to my Tea Forte box.
space
I hope you have fun making your own little gift boxes or envelopes with a tracing wheel. If you don't have one or don't know someone you can borrow it from...you can find them in the notions section of a sewing/crafting store or online. It would be great if you can find both the smooth edge and the perforated wheel, but if you can't...I like the smooth edge as my first choice.
space
I'm sharing this at Funky Junk Interiors Party
space
Have a Great Tuesday,
~Karen~
space
I also want to take this moment to thank all of you for your wonderful comments on my Tool Time posts and especially my Christmas Home Tour post from yesterday. I'm trying to catch up on emails, but just wanted you to know I appreciate each and every comment I receive. They mean the world to me!!

Sunday, December 12, 2010

Christmas Home Tour 2010...

I have been collecting Christmas decorations for over 25 years. I add a little bit each year with after Christmas sales. I use the same decorations over and over, but in a different way each year, so it looks like something new.

We have several trees in the house...7 right now, 2 more to go which I'll share later on. I had a ladies dessert party last weekend, so I started decorating the house the day after Thanksgiving. My family is coming here for Christmas this Saturday the 18th, so I'm all set.

Here is a picture heavy post of this year's decorations...Enjoy!

When I was putting this tree together, I knew I wanted to use the big green balls and red. I kept adding and adding the more things I found in boxes. The only thing I added that was new this year are the sprigs of green fuzzy flowers I found in the floral department of Walmart...only $2.00 a bunch! I knew when I was finished this would be the Cindy Lou Who Tree from The Grinch Who Stole Christmas.


Here's the matching mantel next to the tree.


The red glitter sign says...Believe!


This is a woodsy pine cone tree in the family computer room.


Covered with berries, pine cones, red cardinals, birds nests, old fashioned candles clipped to the branches, apples...


This is my new Charlie Brown Tree my mother in law just gave me last night. Isn't it just the cutest!! It came with Linus' blanket! I put it on the small table where I serve the egg nog.


The china cabinet becomes The Dickens Village.


All the greenery on the stairways, windows, mantels etc are branches from our old 12 foot Christmas tree. We replaced it 2 years ago, but I kept all the branches and use them all around the house.


Sugared fruit that I use every year in different place. Here's a tip...if you have artificial fruit, keep it out of the attic or your basement. The change in temperature will crack the fruit.


Here's a picture of the hook that would go into the trunk of the artificial tree. A perfectly placed bow hides all that!


Here is a tip to hide art work that might not match your holiday decor. Use a 3M Command strip to hold a wreath. I used a burlap theme in the family room, so I used chair strapping for bows. I searched every where for this and thankfully my sister had some!!


For this, I used heavy duty wire to shape the letters and then covered it with garland.


Here are 2 branches from the old tree with the hooks facing inward...instant window swag.


Along with the burlap, I used all galvanized things in this room. Those bells are from the dollar store.


A galvanized bird cage...


with a touch of Christmas!


Punch bowl all set to be filled.


I had a snowflake tree one year and now I'm using them to decorate all the burlap tablecloths


This is the wine station on top of the bar. Believe it or not we don't drink wine...just never acquired a taste for it, but I love all the pretty glasses.


Galvanized buckets hold the white wine...just waiting for all the ice.


Here's another use for that circle cutter that I've been addicted to lately.


Name markers to keep track of your glass.


I cut the larger circle, punched smaller holes with a regular hole punch and then cut a slit so it can wrap around the glass stem.


The wine glasses are all set with their little tags.


Another table is set up for all the other drinks. Say hi to Annie back there in the picture. She wants to come to the party too.


Bottled water in an old bucket.


Rein-Beer...I saw this idea some where in blog land...too cute! Hot glued eyes, red nose and then brown pipe cleaner for the antlers.


Soda bottles in a large galvanized tub from Home Depot. I bought these a few years ago for $13.00 for our summer parties. For Christmas, I used the other 2 for the buckets under the trees.


Table all set for the desserts.


More of those $1.00 sleigh bells on the lamps.


A little snowflake added to the point of the table runner.


Aren't these little buffet plates adorable? A rectangle plate and small cup completes the set.


I found them in a consignment shop. They are from the 1950's and are made by Anchor Hocking. I keep searching for more.


This is our family room tree...12 feet high! This is filled with every ornament we buy for the girls each year, all the ones we receive as gifts, the ones we buy on vacations or special trips and all the creations the girls made when they were little. This is my favorite tree.


Every inch is jam packed...3 large Rubbermaid containers full of ornaments.


Each and every one has a special meaning.


This tree is in our bedroom. It is our original tree from when we were first married 23 years ago. All the ornaments are my mom's. She had a large collection of Steinbach ornaments...the little people with wonderful little costumes on. I put this tree up every year in memory of her.


I used my $2.50 tree skirt and stocking tutorial in here. The green matches perfectly.


This tree is in my husband's office. It's a replica of the tree he had growing up. Large colored lights, silver garland, colored glass ornaments and tinsel...always his favorite.


This is Courtney's silver tree. The color of her wall is coming across peach in the picture, but they are as hot pink as her curtains. The pink looks great with the silver.


Silver balls, my mom's silver angel collection, silver garland and white/silver glitter curly springy things popping out all over.


Kelsie has the purple room and a sweet tooth!


Her's is covered with purple balls, springy things and artificial gum drops and candy all over the tree. Plus a real popcorn garland.


and lastly the girl's bathroom...just a couple silver trees that were on clearance a few years ago at Walmart.


They are super shiny in person...a little dark in this picture.


Silver ornaments added to each hook of the shower curtain for a special added touch.


Hope you enjoyed the tour. If I finish the other 2 trees, I'll be sure to share them with you.
spaceBig Holiday Hugs,
~Karen~
 

Wisata Danau Toba - Sumatera Utara

Danau Toba adalah salah satu destinasi wisata alam terbesar di Indonesia dan terletak di Sumatera Utara. Ini adalah danau vulkanik terbesar ...