Showing posts with label Make a Gift on the 25th. Show all posts

Monday, October 24, 2011

Tool Time Tuesday and Make A Gift On The 25th...Place Mats

Tool Time and Make A Gift On The 25th on the same day...Woo Hoo, it's a twofer!!

You know Tool Time is where I take something and turn it into something else.

"Make a Gift on the 25th" is a club where we can all make a gift for Christmas on the 25th of each month. If we craft ahead of time, we won't be proCRAFTinating on Christmas Eve. We've been doing this since July here at Sew Many Ways, but it's not too late!! Click here for past projects and join the club.

So here's today's project...a Christmas card holder.


Made from a place mat


Flip place mat over so the wrong side is up. Add ric rac, trim, ribbon etc to one of the edges.


I sewed the ric rac down the center.


Turn the raw edge of your trim over to the other side for a finished look.


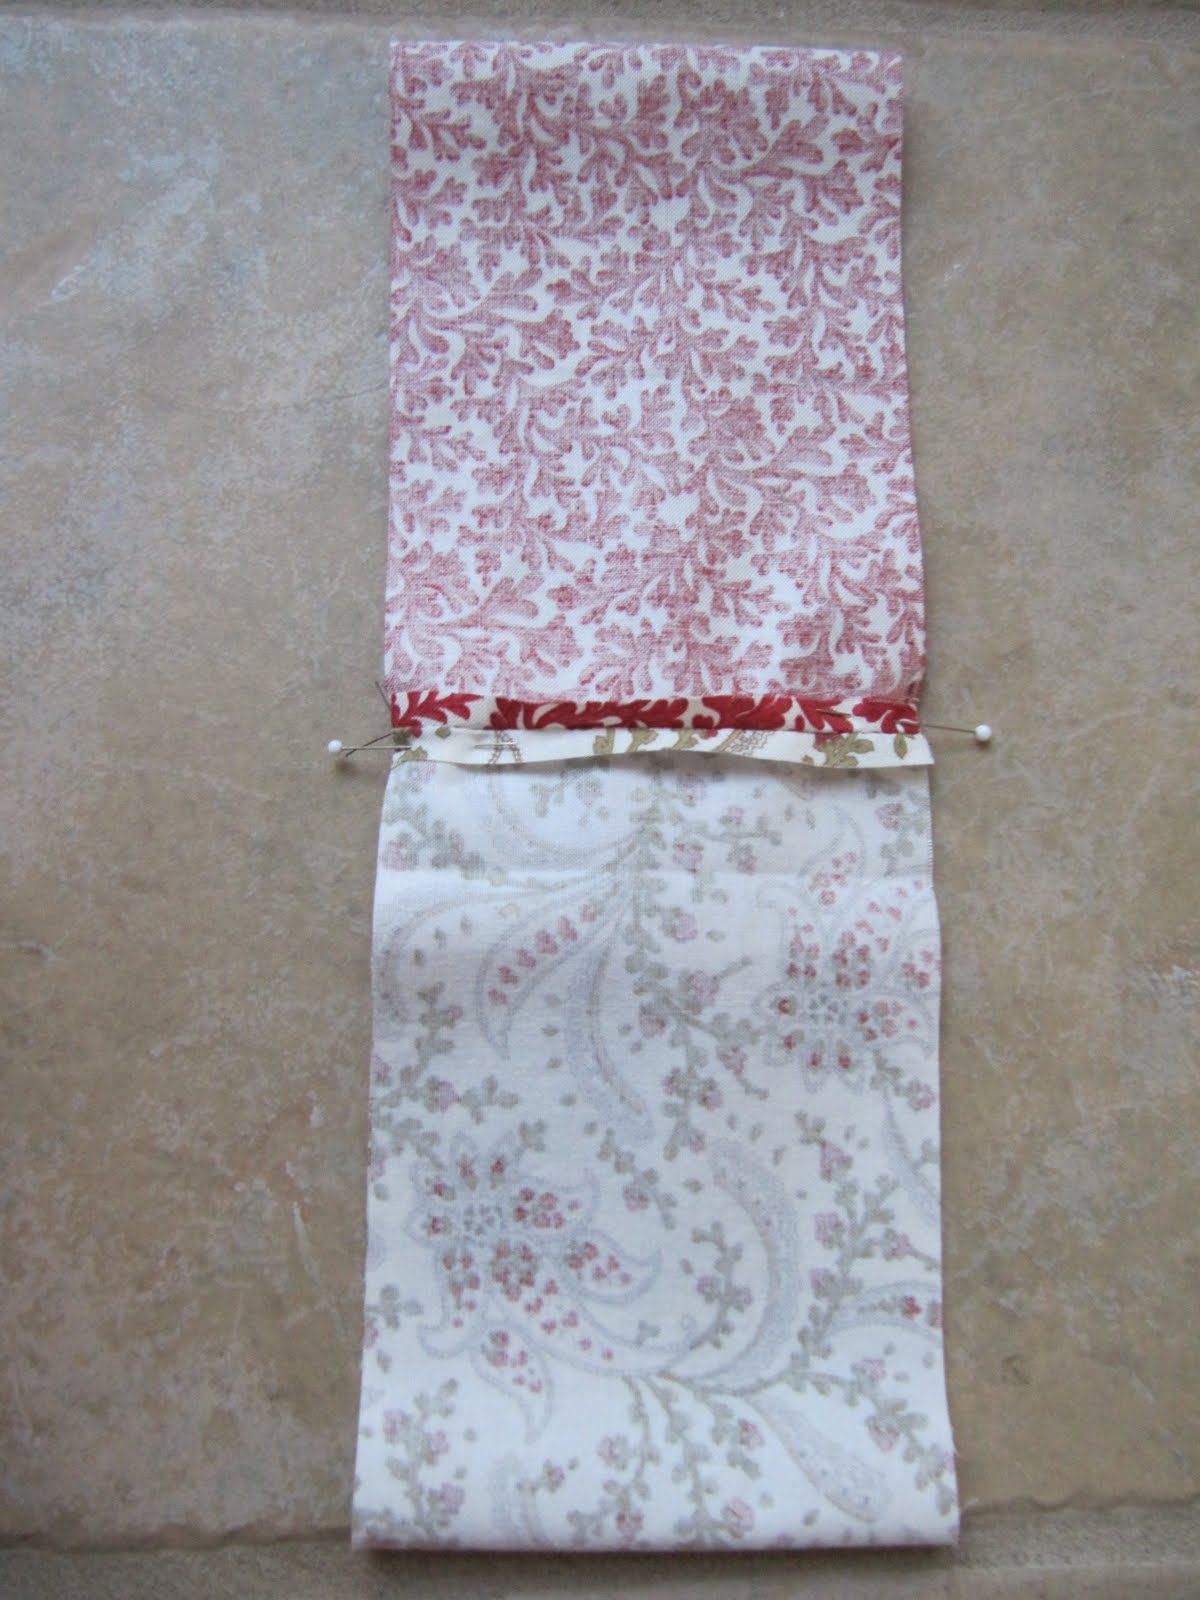
Now fold up the decorated edge to about 1/3 from the top or however deep you want to make the pocket.


Pin the two sides on the right and left.


Sew 1/4 inch away from the edge from ric rac down to the fold.


There are different ways to hangs this, but I sewed two curtain rings to the back on each corner.


Quick zig zag to secure.


 Add a little bow and you're all set.


Add your Christmas cards as they start to come in for the holidays.


Another way is to hang it on the refrigerator with magnetic clips.


I started playing around with different designs.


Fold back the 2 corners and sew them down to form a roof line.


You can decorated your gingerbread house any way you'd like!!


even a little button for a door knob.


Pocket is still there for the cards.


Place mats are a very versatile item that are ready made and can be turned into something else quickly. It's hemmed and has finished edges for a fast project.

Look for them in the clearance section...these red place mats were only 50 cents!! Click here for other place mat projects

Have a wonderful Tuesday,
~Karen~

Saturday, September 24, 2011

Make A Gift On The 25th Club...Bread Wrap With Warmer


Welcome to another addition of Make A Gift On The 25th Club. Read the original Club post by clicking here. In short, this club is to help all of us who are proCRAFTinators and end up making gifts on Christmas Eve. Well, no more!!

If you've joined the club since July 25th, you should have made a few gifts so far. However, there is still plenty of time to squeeze in some crafting time and get a few gifts made.

I've done two posts and tutorials for helpful ideas...

Click here for the July 25th tutorial for sewing an endless scarf

Click here for the August 25th tutorial for the cell phone key chain case

Click here to learn how to add the button found on the right side bar.

Here is September's tutorial...a Bread Wrap and Warmer. These are perfect for just about anyone on your gift list. Great idea for teachers, neighbors, friends or those gifts you have tuck away for those unexpected guests. Super fast to make up too. Great to add a loaf of homemade bread and jar of jam too!


Supplies...
  • 2 place mats
  • ribbon
  • uncooked rice


I'm using the striped side of this place mat for the outside.

Cut 6 pieces of ribbon 8-10 inches long.


Pin 3 pieces of ribbon on the wrong side of place mat, spaced evenly on each of the long sides.


Sew in place. Don't forget to turn under the raw edge so the ribbon doesn't fray.


Stitch back and forth a few times to secure.


When all 6 are sewn on the place mat...the bread wrap is done!! See, I told you it was fast.


Now to make the warmer. This is a long, thin pillow with a little bit of uncooked rice inside. When you microwave it for a few seconds, it will keep the bread warm during dinner.


The second place mat will be used for this and some rice.


Fold up one long edge of the place mat so you have about 4 inches folded up.


Trim off any edges to have a straight edge on all sides.


I'm using the striped side, so fold right sides together.


Sew down the long side and one short side with a 1/4 inch seam, leaving the other short side open.


Turn right side out.


Now fill with the uncooked rice. Don't fill it all the way. Just enough to have a flat layer on the bottom of the pillow.


Roll up a piece of paper or use a funnel to pour the rice in.


Turn in the raw edge and pin.


Top stitch the opening closed.


Now it's all set to be tucked inside, waiting for a yummy loaf of bread.


Microwave the pillow for 10-15 seconds at a time until desired temperature. Place in the middle of the bread wrap, stack with bread and...


Tie it up!!


The bread wrap is great to hold the bread with while cutting.


and the bread stays warm waiting for the next slice to be cut!


This is an easy one and can be made up very quickly. Look for place mats in the clearance rack too. These place mats were 75 cents. A great gift for $1.50 a little ribbon and some rice!

Don't forget to visits today's Sew Darn Crafty linking party and add your link. Both posts fell on this Sunday, so I did 2 posts in a row.

Happy 25th,
~Karen~

Wednesday, August 24, 2011

Make A Gift On The 25th Club...Cell Phone Key Chain Case Tutorial


Welcome back to "Make a Gift on the 25th Club". On the 25th of every month, every one who joins the club will try to make a gift for Christmas. You can read the original post HERE, but the gist is...we all proCRAFTinate around the holidays and planning some crafting or sewing on the 25th of each month will help us stay ahead of the game!! If the actual 25th isn't good for you...some time the week of the 25th is great too!!

So join in on the fun and sign up today. Grab the Christmas button on my right side bar to remind you each month!! If you click the "Button" button it will show you how to add a button to your blog. Wow, that's a lot of buttons is that sentence LOL!!!

To help you each month, I'll try to have a tutorial for you...last month's scarf tutorial HERE

and here is this month's...a key chain cell phone case.  


This tutorial is similar to the other eye glass case holder and book mark case...just different measurements. Click HERE and HERE for the other tutorials.

You need...
  • 2 strips of fabric 4 inches by 12 inches (longer or wider if your cell phone is bigger)

  • "D" ring

  • key chain rings

  • piece of ribbon 4-5 inches long


Loop ribbon through the D ring and pin.


Place fabric right sides together.


Pin one of the short edges...


On the other short edge, center the ribbon with the D ring on the fabric...


cover with the other layer...


and pin in place.


Close up of the layers with the ribbon.


Sew with a 1/4 inch seam. I went over the section where the ribbon was a few times to really secure it.


Sew the other short edge with a 1/4 inch seam too.


2 short edges sewn...long sides still open.


Bring up the bottom seam to match the other seam in the middle.


Match the seams.


and pin in place.


Sew one long side completely with a 1/4 inch seam and then sew the other long side, but leave a small opening for turning.


See the opening?


Turn right side out.


At this point the case is reversible, so you can decide which fabric you'd like.


Just push the lining fabric inside the pocket of the other fabric. Iron flat.


Add your key rings to the "D" ring. You could just have one ring on the ribbon instead of the "D" ring, but it's easier to remove one key if needed.


Now you are all set to add your cell phone and debit card and you're good to go!!


To keep the cell phone secure, you can add 2 dots of Velcro, snap, hook or button.


Stick or sew in place...which ever you have on hand.


Perfect gift for any one!!


Happy 25th,
~Karen~

Wisata Danau Toba - Sumatera Utara

Danau Toba adalah salah satu destinasi wisata alam terbesar di Indonesia dan terletak di Sumatera Utara. Ini adalah danau vulkanik terbesar ...