Thursday, December 8, 2011

Thoughts on Thursday...

Christmas traditions...they make you feel all warm and fuzzy inside. Everyone has traditions for the holidays, whether it's just one or many...they make this time of year extra special

We're the family that has many...
  • Christmas eve mass
  • wake up and read the note that Santa left for the girls. Still do this...and they're in college
  • always open the stockings first
  • cinnamon buns for breakfast
  • Kelsie always has green wrapping paper...Courtney always has red. That way there were never any names written on the packages from Santa (wink wink)
  • look for the hidden pickle on the tree (click here for history of the pickle lol )
There are lots more and each one means so much.

What are some of your Christmas or holiday traditions?

Thanks for sharing,
~Karen~

Wednesday, December 7, 2011

Santa Claus Tree...

Here are the pictures of the Santa Claus tree I promised you. I'll have a full post of all the Christmas decorations once I finish! I have a big Christmas party for all the ladies in my neighborhood, family and friends this weekend, so it will be done in the next few days. The best way to get things done is to have a party...lights a fire under your tuckus!!

Santa Tree...


from the top...Santa's hat and some jumbo candy canes


to the bottom...his big belly for the base.


and every where in between!!


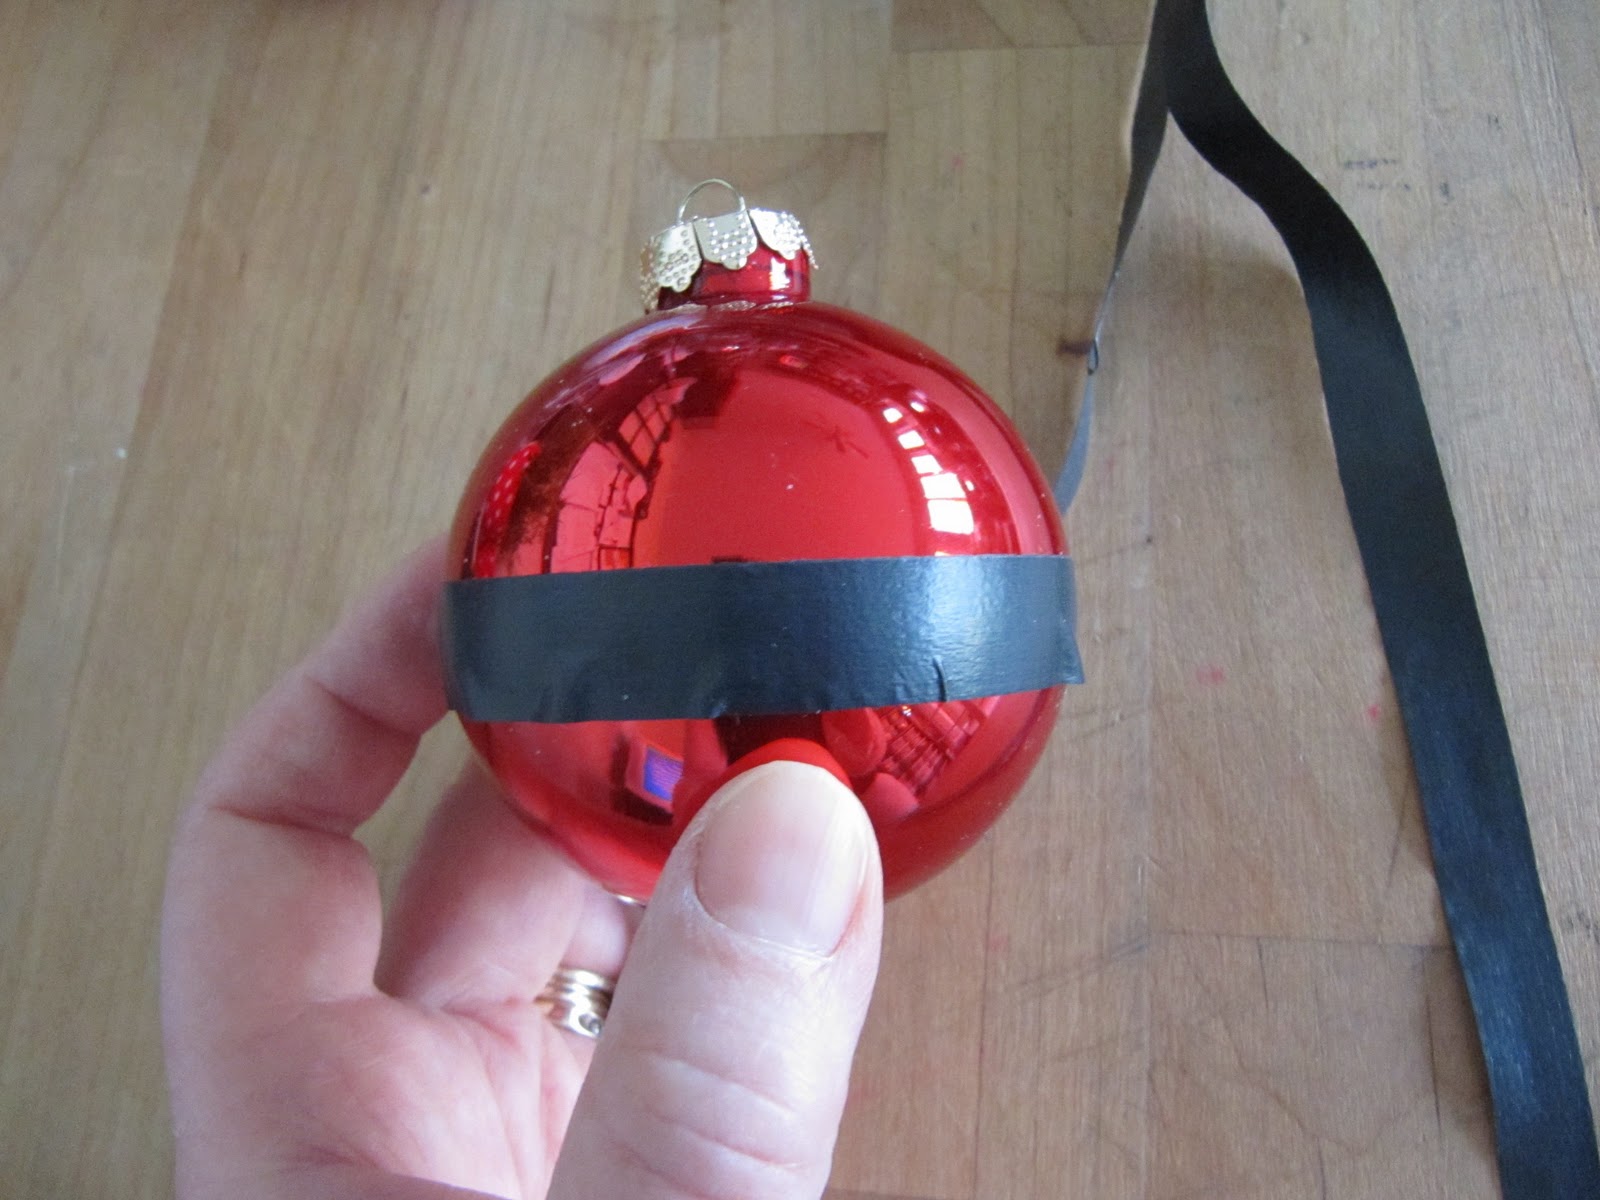
Here are the little Santa ornaments I made this week. Click HERE for that tutorial.


Most all of the ornaments on this tree are ones I bought during after Christmas clearance sales over the years.


Except for the Mickey Mouse ornaments. They were our souvenirs from our trip to Disney last Christmas.


I love the look and dimension those little springy stems give the tree. Very whimsical!!


To add to the white fur trim of Santa's suit, I covered Styrofoam balls with white quilt batting to make them look like snowballs.


I have several strings of different garlands to add to the depth of the tree. One is red wooden beads, one is a garland of red berries and the last is the peppermint candy garland I made last week. Click HERE for that tutorial.


Don't forget to pick up any of those "word" ornaments you see around. Walmart has them for $2.97 for a box of 12. I bought the word "joy", but I already had "ho ho ho" and lots of "merry".


Having the same color ornaments is great to add to the theme, but maybe have different textures and patterns.

Polka dot glitter.


swirls...


and all over glitter. You could easy make all of these yourself with just red balls, glue and glitter.


The box I used for the base is the Rubbermaid box I store the ornaments in for this tree. (Here's a side tip...I use red boxes for Christmas, brown for fall, orange for Halloween and blue for Easter. Helps to find things in the attic faster)

 Last year for the base, I used a big galvanized tub. The metal "trunk" of this tree is very long and looks un-natural, so I always like to disguise it some how.

I just plunk the tree in there, packed it with newspaper and covered it with a big piece of quilt batting.


For Santa's belt buckle, I just used a disposable aluminum foil pan. Draw the pattern...


and cut it out.


Use your finger to rub out the creases.


For the belt, I used my mom's black wool scarf. It was too picky to wear around my neck, so this is the best way to remember it was hers. I know she looking down on me with that "mom look", because I hot glued a perfectly good scarf, but it was just sitting in a drawer not being used!!


Wrapped a few fake gifts in some Ho Ho Ho paper. Black ribbon and a white bow match the Santa theme.


and here it is a night time all lit up!


Hope you can use some of these ideas for your tree. Remember to always look around the house and see what you can use before you go out and buy something!!

Have a great day,
~Karen~

Monday, December 5, 2011

Tool Time Tuesday...Santa Ornament

Whether you are young or old, we all love Santa Claus. This year I wanted to have a Santa themed tree, but really didn't have anything that looked like Santa and didn't want to spent any money. I did have different ornaments that were red or candy cane color and I just made that new peppermint candy garland last week. Click HERE for that tutorial.

Here is my Santa solution...Tool Time style!!


Here are the items that I used.
  • old red ornaments
  • black electrical tape
  • silver tape used to seal up duct work
  • jumbo chenille stem...or you could use cotton balls or quilt batting


Jumbo chenille was $2.99 at Michael's Craft Store. I made 11 ornaments with this package of 6.5 feet.


This is the foil duct work tape. I stole this roll from my husband's workbench...he'll never get it back now. Lol !!!


Just cut a rectangle. Fold it in half, snip the center square out and then unfold again.


To make Santa's belt, I cut the electrical tape in half length wise


Wrap it around the "belly" of the ornament.


Cut your chenille stem and form a donut. I hot glued the ends to secure and then glued it to the top of the ornament


Now peel the backing off the silver buckle.


and place over the black belt.


The donut hole of the white fur still exposes the ornament hook.


and here it is in all it's Christmas glory!!


I finished the whole Santa tree and I will share that tomorrow. Amazing what you can make with things from around your house when you don't want to spend any money!!


Hope you can add the spirit of Santa to your tree. These would also make great gifts for teachers and friends or add them to packages as a little extra gift.!!

Have a great Tuesday,
~Karen~

Sunday, December 4, 2011

Sew Darn Crafty Party...Week 43 Christmas/Holiday Decorating


Happy December everyone!! This month brings on a lot of different feelings for a lot of people. Christmas is just around the corner and adding a little holiday cheer into your world will help get that spirit fired up inside of you.

Starting in December the linking parties here at Sew Many Ways will have Christmas / Holiday Themes. See the list below or on the upper right side bar.

If you've started decorating already, share some of your ideas all week long here at Sew Darn Crafty's Christmas Decor Linking Party

Here are the weeks and the theme for the weeks to come...so start putting all your great posts together!

December 4th...Christmas/Holiday Decor
December 11th...Cookie Recipes
December 18th...Last Minute gift ideas

If you want to add the button to your blog...Click HERE for a tutorial for adding a button


If you're NEW to Sew Darn Crafty, then grab a cup of something tasty, sit back and join in on the fun (starts Sunday and lasts all week long at Sew Many Ways).

WHAT IS SEW DARN CRAFTY...
  • "Sew" for anything to do with sewing,
  • "Darn" for anything to do with knitting. I always think of darning to do with knitting, but in my case "darn" usually is similar to the word I say when I mess up crafting!!
  • Let's not forget the word "crafty"...that can mean just about anything we do to create.

WHAT IS A LINKING PARTY...

So now we all know what Sew Darn Crafty means, let's explain a linking party again. I subscribe to a linking service, which provides the ability to link thumbnail pictures on my blog. The picture is a link that other bloggers provide to share their projects.

Two things can happen at a linking party...looking and/or linking
  • you can be greatly inspired by wonderful projects, ideas or vacation pictures (looking) and/or
  • you can share what you've been up to (linking)
If you want to be inspired by all the great ideas...just click on a picture and it will take you to that post from a wonderful blogger willing to share her thoughts and ideas.


HOW AND WHAT TO LINK TO THE PARTY...

Sew Darn Crafty is all about YOU!! Show off your projects, share a tutorial, show us your vacation pictures, share a family favorite recipe...share anything. Not only does linking inspire us all, it also brings lots of new people to your blog for a visit. Click here for past parties and lots of inspiration

Easy steps to join in on the fun...

  • link up to the specific project post, not your whole blog. Makes it easier to link right to that post and not  search through all your entire blog. To find the http address to a specific post, just click on the Title of your post.
  • link as many projects as you'd like...old or new
  • anything goes...cooking, sewing, knitting, crafts, organizing, remodeling projects, vacations, parties etc...
  • visit other links to share some blogging love! You know we all love comments!
  • grab a Sew Darn Crafty button for your blog (on my right side bar) or just link to the party in your post.
  • the more we share, the more people will join and then there's more inspiration to look at!
  • linking is open til Saturday night, so plenty of time to join in
  • just click the "click here to enter" button and follow the easy steps

Have fun linking up! Don't forget to come back and take a look at all the great projects during the week,
~Karen~

Wisata Danau Toba - Sumatera Utara

Danau Toba adalah salah satu destinasi wisata alam terbesar di Indonesia dan terletak di Sumatera Utara. Ini adalah danau vulkanik terbesar ...