Saturday, September 24, 2011

Make A Gift On The 25th Club...Bread Wrap With Warmer


Welcome to another addition of Make A Gift On The 25th Club. Read the original Club post by clicking here. In short, this club is to help all of us who are proCRAFTinators and end up making gifts on Christmas Eve. Well, no more!!

If you've joined the club since July 25th, you should have made a few gifts so far. However, there is still plenty of time to squeeze in some crafting time and get a few gifts made.

I've done two posts and tutorials for helpful ideas...

Click here for the July 25th tutorial for sewing an endless scarf

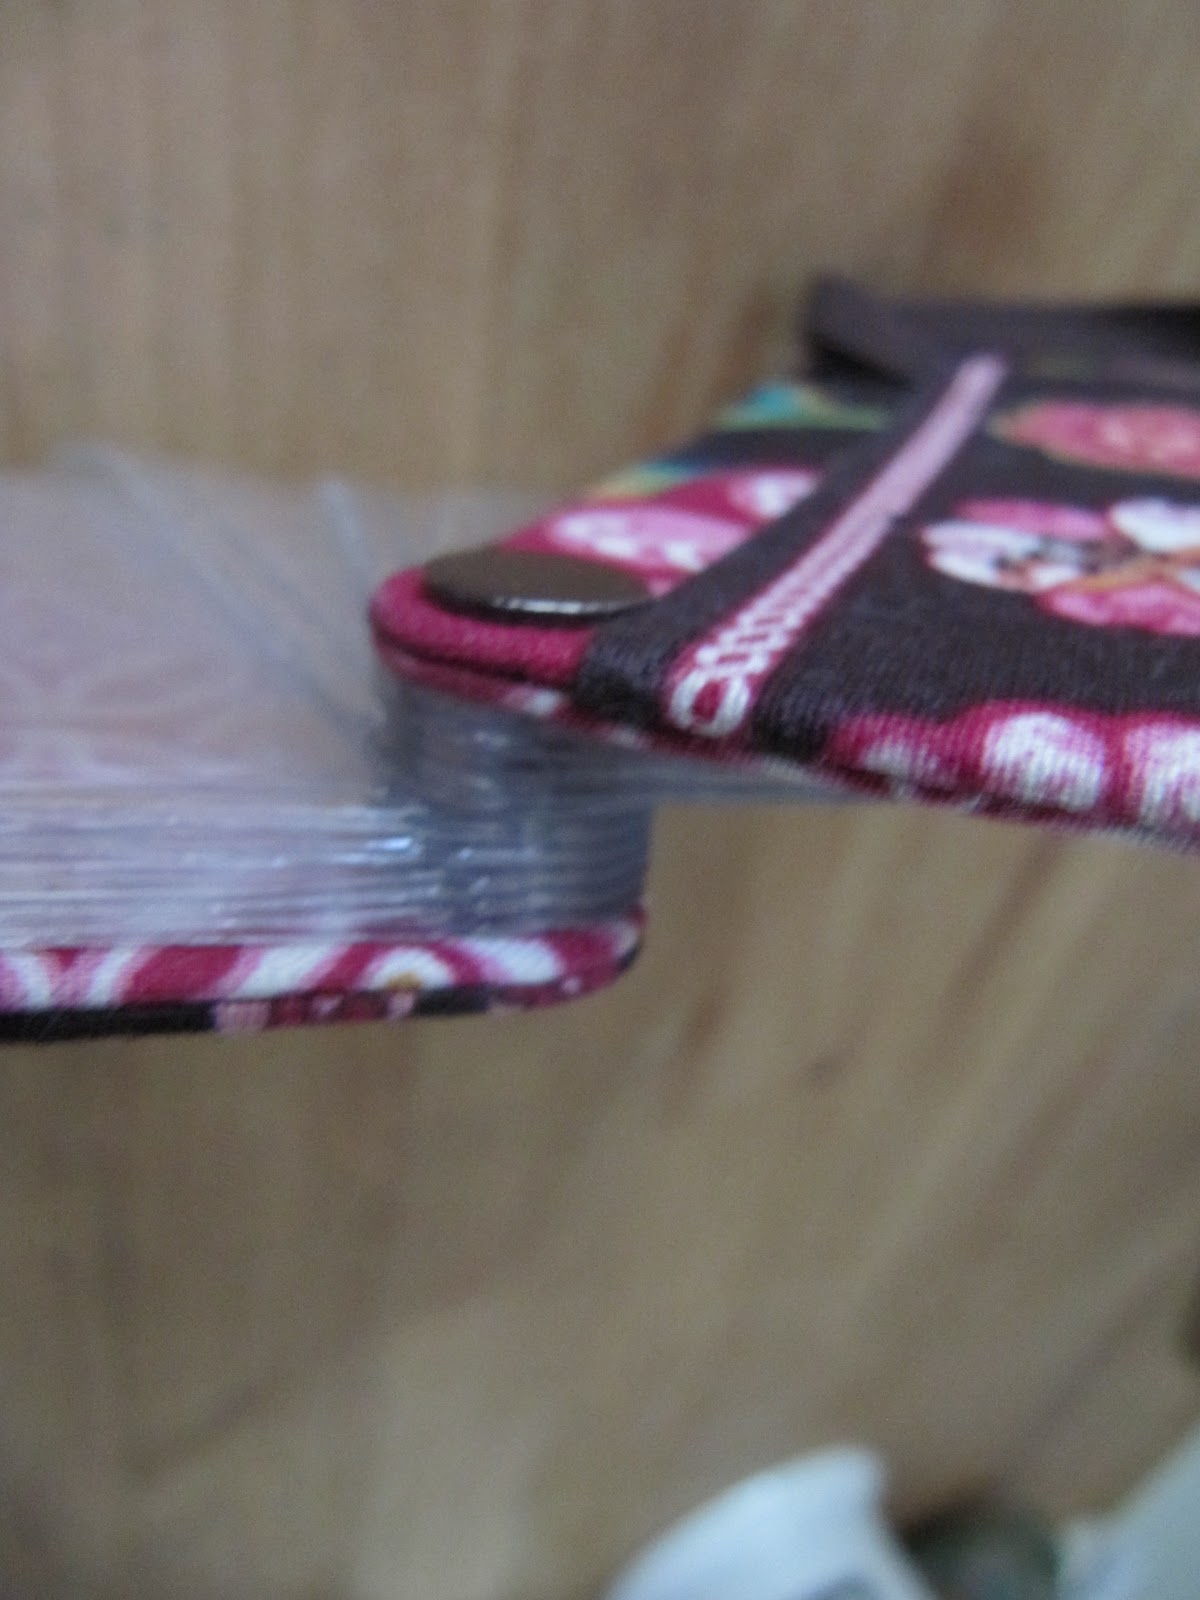
Click here for the August 25th tutorial for the cell phone key chain case

Click here to learn how to add the button found on the right side bar.

Here is September's tutorial...a Bread Wrap and Warmer. These are perfect for just about anyone on your gift list. Great idea for teachers, neighbors, friends or those gifts you have tuck away for those unexpected guests. Super fast to make up too. Great to add a loaf of homemade bread and jar of jam too!


Supplies...
  • 2 place mats
  • ribbon
  • uncooked rice


I'm using the striped side of this place mat for the outside.

Cut 6 pieces of ribbon 8-10 inches long.


Pin 3 pieces of ribbon on the wrong side of place mat, spaced evenly on each of the long sides.


Sew in place. Don't forget to turn under the raw edge so the ribbon doesn't fray.


Stitch back and forth a few times to secure.


When all 6 are sewn on the place mat...the bread wrap is done!! See, I told you it was fast.


Now to make the warmer. This is a long, thin pillow with a little bit of uncooked rice inside. When you microwave it for a few seconds, it will keep the bread warm during dinner.


The second place mat will be used for this and some rice.


Fold up one long edge of the place mat so you have about 4 inches folded up.


Trim off any edges to have a straight edge on all sides.


I'm using the striped side, so fold right sides together.


Sew down the long side and one short side with a 1/4 inch seam, leaving the other short side open.


Turn right side out.


Now fill with the uncooked rice. Don't fill it all the way. Just enough to have a flat layer on the bottom of the pillow.


Roll up a piece of paper or use a funnel to pour the rice in.


Turn in the raw edge and pin.


Top stitch the opening closed.


Now it's all set to be tucked inside, waiting for a yummy loaf of bread.


Microwave the pillow for 10-15 seconds at a time until desired temperature. Place in the middle of the bread wrap, stack with bread and...


Tie it up!!


The bread wrap is great to hold the bread with while cutting.


and the bread stays warm waiting for the next slice to be cut!


This is an easy one and can be made up very quickly. Look for place mats in the clearance rack too. These place mats were 75 cents. A great gift for $1.50 a little ribbon and some rice!

Don't forget to visits today's Sew Darn Crafty linking party and add your link. Both posts fell on this Sunday, so I did 2 posts in a row.

Happy 25th,
~Karen~

Sew Darn Crafty Party...Week 33


Happy Sunday and welcome to another fun week of Sew Darn Crafty. Each Sunday and all week long wonderful bloggers share all their project and ideas. I had mentioned earlier about having themed Sundays for the next few months with the upcoming holidays.

You can still add any project each week, but having mostly the theme of the week would be great!!

Here are the weeks and the theme for that week...so start putting all your great posts together!

October 2nd...Anything Autumn
October 16th...Halloween
October 30th...Apple or Pumpkin Recipes
November 6th...Anything Autumn
November 13th...Pie Recipes
December 4th...Christmas/Holiday Decor
December 11th...Cookie Recipes
December 18th...Last Minute gift ideas

If you want to add the button to your blog...Click HERE for a tutorial for adding a button


If you're new to Sew Darn Crafty, then grab a cup of something tasty, sit back and join in on the fun (starts Sunday and lasts all week long at Sew Many Ways).

WHAT IS SEW DARN CRAFTY...
  • "Sew" for anything to do with sewing,
  • "Darn" for anything to do with knitting. I always think of darning to do with knitting, but in my case "darn" usually is similar to the word I say when I mess up crafting!!
  • Let's not forget the word "crafty"...that can mean just about anything we do to create.

WHAT IS A LINKING PARTY...

So now we all know what Sew Darn Crafty means, let's explain a linking party again. I subscribe to a linking service, which provides the ability to link thumbnail pictures on my blog. The picture is a link that other bloggers provide to share their projects.

Two things can happen at a linking party...looking and/or linking
  • you can be greatly inspired by wonderful projects, ideas or vacation pictures (looking) and/or
  • you can share what you've been up to (linking)
If you want to be inspired by all the great ideas...just click on a picture and it will take you to that post from a wonderful blogger willing to share her thoughts and ideas.


HOW AND WHAT TO LINK TO THE PARTY...

Sew Darn Crafty is all about YOU!! Show off your projects, share a tutorial, show us your vacation pictures, share a family favorite recipe...share anything. Not only does linking inspire us all, it also brings lots of new people to your blog for a visit. Click here for past parties and lots of inspiration

Easy steps to join in on the fun...

  • link up to the specific project post, not your whole blog. Makes it easier to link right to that post and not  search through all your entire blog. To find the http address to a specific post, just click on the Title of your post.
  • link as many projects as you'd like...old or new
  • anything goes...cooking, sewing, knitting, crafts, organizing, remodeling projects, vacations, parties etc...
  • visit other links to share some blogging love! You know we all love comments!
  • grab a Sew Darn Crafty button for your blog (on my right side bar) or just link to the party in your post.
  • the more we share, the more people will join and then there's more inspiration to look at!
  • linking is open til Saturday night, so plenty of time to join in
  • just click the "click here to enter" button and follow the easy steps

Have fun linking up! Don't forget to come back and take a look at all the great projects during the week,
~Karen~

Sew Darn Crafty Party MVPs...

Hello Ladies...and maybe some gents. This past week's Sew Darn Crafty links were just wonderful!! I loved every one of them. According to the linking service that I use, the projects below had the most hits and are this week's MVPs..Most Viewed Posts.

If you haven't looked at all the party links for last week, click here to go to the party. The next party starts after midnight tonight.

The first post is a project after my own organizing heart. I just LOVE this idea from Debbie at Pieceful Living. She uses empty cd case to organize all her needles. Click here to visit her great blog and this project. thanks Debbie for sharing this idea...it's on my "to do" list for sure!


These beautiful pumpkins are just in time for fall and again on my "to do" list. I love the colors of fall and these are the perfect addition to my autumn decor. You can click here to visit Ellen at Creative Passage to see more pictures of these beauties and a link to make them!! Thanks so much for linking up!


This quilt wall hanging is a must see on Kirie's blog Shape Moth...click here to go for a visit. Oh my gosh this is too cute and the colors just pop. I love the fabric and the ribbons. Go to her blog and see the detailed pictures and the free paper piecing pattern. This would be on my "to do" list, but I have to learn how to paper piece first lol !! Then it's a must.


Thanks so much ladies for sharing these projects. If you'd like to grab a "featured" button, you can get the code on the right side bar under the feature button.

If any one wants to learn how to add any button to your blog...you can click here for one of my tutorials.


Thanks again for always linking up to Sew Darn Crafty,
~Karen~

Friday, September 23, 2011

The First Day Of Fall...I Smell Apples and Cinnamon

Happy first day of Fall! However, here in southern New England it's raining, sticky and humid. Last week it was cool, in the low 60's and felt like autumn...not so much for the next week or so here.

Well, the temperature may not be fall, but I'm going to make it smell like autumn in my house. I posted this idea before, but wanted to share it again.

When I think of Fall, I think apples and cinnamon. Use your crock pot to slowly simmer apples, cinnamon, and a few whole cloves to fill your home with the greatest smell ever!!


For this batch, I saved the cores and peels from a recipe I had made earlier. I think you could probably freeze them until you need them.


Add a little water and simmer away.


A wonderful smell from something you were going to throw away.

You could also use the apple part and find a great recipe for apple sauce and then at the end, you'll have a yummy treat to eat too along with filling up your home with the smell of autumn.

Don't forget to look in on all the great ideas on this week's Sew Darn Crafty and you still have time to add a link of your own. Click here to go take a peek!

Happy Fall,
~Karen~

Wednesday, September 21, 2011

Thoughts on Thursday...

Monday through Friday breakfast for me is on the fly...cup of tea and a breakfast bar of some kind in the car.

Saturdays after a long walk and Sundays after church, my hubby and I go out for breakfast!

Breakfast is my favorite meal...I even love breakfast night, when we have breakfast for dinner.

What's your favorite meal of the day?

Happy Thursday,
~Karen~

Tuesday, September 20, 2011

Early Start On Christmas...

Let me just clarify something right up front...I am never early when it comes to Christmas cards. I'm usually rushing to take a picture of the girls, print the pictures, stuff each card and then get them in the mail . Last year the cards went out on December 21st...technically not late, but not early at all.

Well, this week hubby and I were shopping in Walmart and if you can believe it, they have some Christmas things out. These cards jumped out at me. My husband insisted we get them, because that's what holds me up every year...finding the perfect card.


Look how cute they are...all glittery!


Walmart carries Hallmark cards.


Box of 40 for $11.97!!


The envelopes are cute too and they come with matching seals for them.


Do you know why these cards caught my eye?


They look like this project I made last Christmas...click HERE to go to that post for tutorial.

I see a Santa's belt theme coming on.


My Goal...write out the cards a little at a time each week and have them in the mail early December.

My Reality...I'll be mailing them on December 21st

I'll let you know how I do,
~Karen~

Monday, September 19, 2011

Tool Time Tuesday...Credit Card Case

What does Home Depot and Vera Bradley have in common?...Crazy Karen at Sew Many Ways.

This is my credit card case and was inspired by...


this case that belongs to my daughter Courtney.


The only thing they have in common (because mine is far from a Vera) is this type of screw.


Here's my screw!


I found these "binding post" screws at Home Depot for 98 cents a bag. One screw set per bag.


The smooth part goes through your item and then the...


threaded part screws into the smooth tube and secures the item together.


Smooth middle with 2 flat screw ends to hold everything together. I used the 1/2 inch size.


Now, to put together the credit card case.

You'll need a package of name badge holders.


They come in vertical...(I used these)


or horizontal shape.


For the outer case, a plastic of some sort is more sturdy. These are plastic place mats, plastic note book covers or a plastic file folder.


Cut your plastic a little bit larger than your name badge holders and mark the center of the hole.


Punch with hole punch on both pieces.


Put together the front plastic, the name badges and then the plastic backing. Push the longer of the screw parts that is smooth through all parts.


Now screw in the threaded short piece until it's flat and all the way in.


That American Express card is one of the fake ones that come in the mail for advertising, so don't worry!!


If you are just using the plastic for the outer case, cut the corners so they are rounded.


Now, let's add some fabric.


You will need 4 pieces of fabric a little bit larger than your plastic pieces.

This piece of fabric is the one that will show on the front, so if there is a design center it on the plastic.


I hot glued all four sides.


Then I took another piece, that was cut to fit exactly, to cover the raw edges.


This side is the inside of the cards case, but glue down carefully, so it doesn't fray.


You can also use Mod Podge on the whole piece to seal and protect the fabric.

Mod Podge is a glue and sealer all in one.


Click here to go to an earlier post I did about other ideas for name badges...pictures, fabric swatches etc..

or click here for all name badge ideas I've done so far...

I love hardware stores...if you've been following Tool Time, I know you love hardware stores too!!!

Happy Tuesday,
~Karen~

Wisata Danau Toba - Sumatera Utara

Danau Toba adalah salah satu destinasi wisata alam terbesar di Indonesia dan terletak di Sumatera Utara. Ini adalah danau vulkanik terbesar ...