We have several trees in the house...7 right now, 2 more to go which I'll share later on. I had a ladies dessert party last weekend, so I started decorating the house the day after Thanksgiving. My family is coming here for Christmas this Saturday the 18th, so I'm all set.
Here is a picture heavy post of this year's decorations...Enjoy!
When I was putting this tree together, I knew I wanted to use the big green balls and red. I kept adding and adding the more things I found in boxes. The only thing I added that was new this year are the sprigs of green fuzzy flowers I found in the floral department of Walmart...only $2.00 a bunch! I knew when I was finished this would be the Cindy Lou Who Tree from The Grinch Who Stole Christmas.


Here's the matching mantel next to the tree.

The red glitter sign says...Believe!


This is a woodsy pine cone tree in the family computer room.

Covered with berries, pine cones, red cardinals, birds nests, old fashioned candles clipped to the branches, apples...


This is my new Charlie Brown Tree my mother in law just gave me last night. Isn't it just the cutest!! It came with Linus' blanket! I put it on the small table where I serve the egg nog.

The china cabinet becomes The Dickens Village.


All the greenery on the stairways, windows, mantels etc are branches from our old 12 foot Christmas tree. We replaced it 2 years ago, but I kept all the branches and use them all around the house.
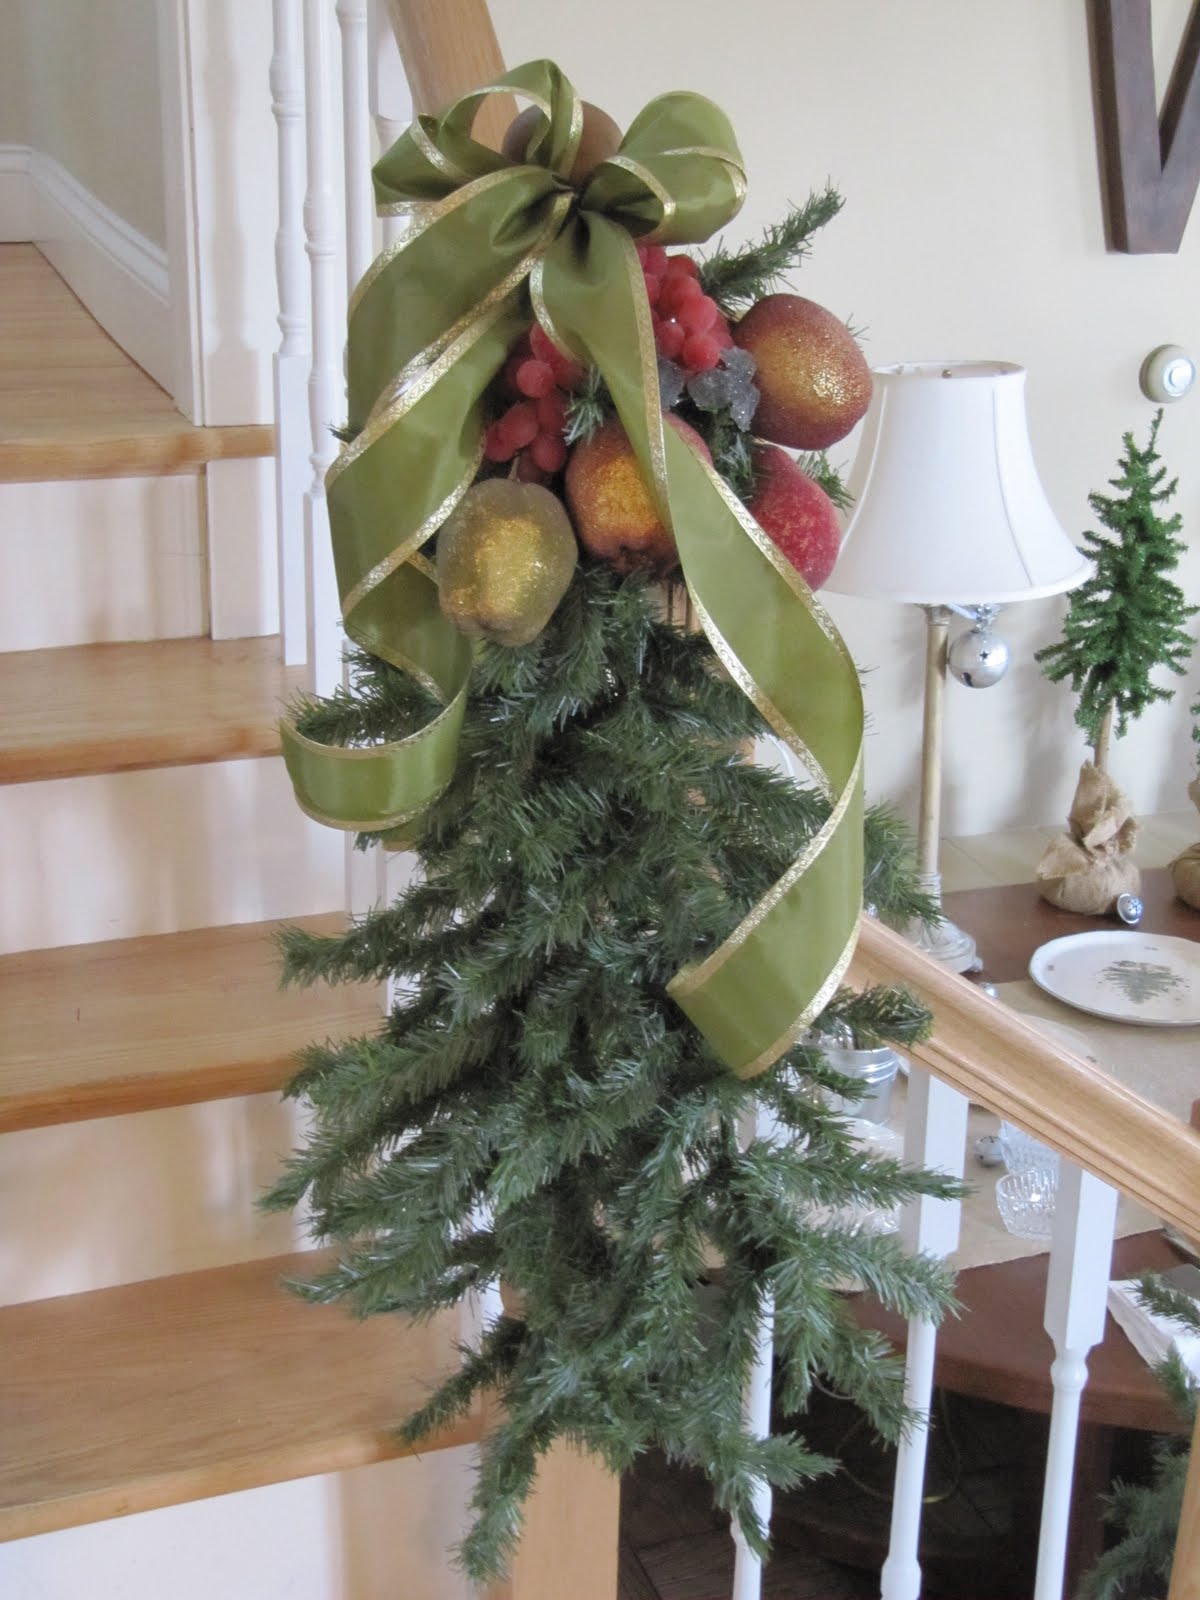
Sugared fruit that I use every year in different place. Here's a tip...if you have artificial fruit, keep it out of the attic or your basement. The change in temperature will crack the fruit.

Here's a picture of the hook that would go into the trunk of the artificial tree. A perfectly placed bow hides all that!


Here is a tip to hide art work that might not match your holiday decor. Use a 3M Command strip to hold a wreath. I used a burlap theme in the family room, so I used chair strapping for bows. I searched every where for this and thankfully my sister had some!!

For this, I used heavy duty wire to shape the letters and then covered it with garland.


Here are 2 branches from the old tree with the hooks facing inward...instant window swag.

Along with the burlap, I used all galvanized things in this room. Those bells are from the dollar store.

A galvanized bird cage...

with a touch of Christmas!

Punch bowl all set to be filled.

I had a snowflake tree one year and now I'm using them to decorate all the burlap tablecloths

This is the wine station on top of the bar. Believe it or not we don't drink wine...just never acquired a taste for it, but I love all the pretty glasses.

Galvanized buckets hold the white wine...just waiting for all the ice.

Here's another use for that circle cutter that I've been addicted to lately.

Name markers to keep track of your glass.

I cut the larger circle, punched smaller holes with a regular hole punch and then cut a slit so it can wrap around the glass stem.

The wine glasses are all set with their little tags.


Another table is set up for all the other drinks. Say hi to Annie back there in the picture. She wants to come to the party too.

Bottled water in an old bucket.

Rein-Beer...I saw this idea some where in blog land...too cute! Hot glued eyes, red nose and then brown pipe cleaner for the antlers.

Soda bottles in a large galvanized tub from Home Depot. I bought these a few years ago for $13.00 for our summer parties. For Christmas, I used the other 2 for the buckets under the trees.

Table all set for the desserts.


More of those $1.00 sleigh bells on the lamps.

A little snowflake added to the point of the table runner.

Aren't these little buffet plates adorable? A rectangle plate and small cup completes the set.

I found them in a consignment shop. They are from the 1950's and are made by Anchor Hocking. I keep searching for more.

This is our family room tree...12 feet high! This is filled with every ornament we buy for the girls each year, all the ones we receive as gifts, the ones we buy on vacations or special trips and all the creations the girls made when they were little. This is my favorite tree.

Every inch is jam packed...3 large Rubbermaid containers full of ornaments.

Each and every one has a special meaning.


This tree is in our bedroom. It is our original tree from when we were first married 23 years ago. All the ornaments are my mom's. She had a large collection of Steinbach ornaments...the little people with wonderful little costumes on. I put this tree up every year in memory of her.


I used my $2.50 tree skirt and stocking tutorial in here. The green matches perfectly.

This tree is in my husband's office. It's a replica of the tree he had growing up. Large colored lights, silver garland, colored glass ornaments and tinsel...always his favorite.


This is Courtney's silver tree. The color of her wall is coming across peach in the picture, but they are as hot pink as her curtains. The pink looks great with the silver.

Silver balls, my mom's silver angel collection, silver garland and white/silver glitter curly springy things popping out all over.

Kelsie has the purple room and a sweet tooth!

Her's is covered with purple balls, springy things and artificial gum drops and candy all over the tree. Plus a real popcorn garland.

and lastly the girl's bathroom...just a couple silver trees that were on clearance a few years ago at Walmart.

They are super shiny in person...a little dark in this picture.

Silver ornaments added to each hook of the shower curtain for a special added touch.


Hope you enjoyed the tour. If I finish the other 2 trees, I'll be sure to share them with you.
spaceBig Holiday Hugs,
~Karen~