Friday, January 7, 2011

I'm Guest Posting...

Madame Samm at Sew We Quilt @ Stash Manicure invited me to guest post today! I would love it if you could hop over for a visit. I have tips for organizing your stash and a tutorial for an endless scarf...quick, easy and uses one yard of fabric. Great to start making those gifts for...dare I say...Christmas!

Stash Manicure is a great site filled with guest bloggers and wonderful ideas from Madame Samm, so have fun roaming around!

Here's the link to the Stash Manicure blog...click here

Here's the link directly to my post...click here

Have a great day,
~Karen~


Monday, January 3, 2011

Tool Time Tuesday...Lasting Templates

Happy Tuesday! Today's Tool Time is a recycler too! Whether you are a crafter, quilter or some one who sews (notice I didn't say sewer, because that can go either way if you know what I mean LOL)...we all have paper templates that we use. Most are on flimsy paper that don't last too long. Today I'll show you a quick way to recycle and make your templates last longer. I'll also show you how to make these 2 cuties pictured below from a hexagon flower template. The first is a note card that you can tuck in with a package or gift and the second is a needle case.


It's after the holidays and I know we all have these...gift boxes and more gift boxes!!


Why not use the boxes that might be a little dented or crushed to help make your templates last forever!


I know I use Mod Podge a lot (because I love it), but regular white glue would work too.


Paint the Mod Podge onto the box...


Place your template down on the wet glue...(you may want to make a copy of your original template and keep the original for safe keeping. The glue might rip the template when wet. It hasn't happened to me, but not sure how thin your templates are.)


and then paint another layer of glue (Mod Podge) on top of that.


Here it is almost dry, but I was off to work before a better picture!


So here it is all dry. The Mod Podge acts as a sealer, so it has a nice plasticy coating to keep it clean and the card board makes it so sturdy. If you need it to be even thicker, you could always print your original template onto card stock first and then glue to the box.


Now for the fun part...doing something creative with this template. For crafters, I'm using double sided scrap booking paper. For those of you who have fabric busting out of your shelves...just take 2 of your favorite fabrics and use Heat and Bond to fuse the 2 fabrics, wrong sides together. Follow the directions on your Heat and Bond...Bond, Heat and Bond! (I couldn't resist. I just watch a James Bond marathon yesterday. Sean Connery is my favorite!) This will give you the same look as the double sided paper.


Now just place your super duper sturdy template on your paper or fabric.


Trace...I used a dark pen so you can see it, but a pencil would be less visible if you miss cutting some of it away.


You have to fold along the dotted lines, so pop over to this post I did on using a tracing wheel to help the process.


Crease along all your fold lines.


For the note card, just add your little message.


Start folding one petal over the other and then tuck the final one under the first one you placed down.


All set for your package, gift or just a little love note. If you want to keep the petals sealed and flat you can add a pretty little sticker to the center.


Here's the back side where you can write their name.


Instead of a love note...how about a needle case for your favorite quilter or sewing friend. They'll love it, especially if they are hand sewing a Grandmother's Flower Garden quilt.


This Tuesday was the best of a lot of worlds...
  • recycling
  • saves your templates
  • uses paper and/or fabric
  • project is quick and easy
  • and great gift idea

Have fun with this and Happy Tuesday,

~Karen~

Belated Wishes...We've Been Away

A very belated Merry Christmas and Happy New Year to all! We drove Christmas morning from New England to Florida to visit a few of our favorite friends.


Two days of driving, but we always stop here for our traditional picture. We had to drive further south on the first day to miss hitting the blizzard on the east coast. Normally we drive to Disney in the spring or summer...


so this is our first time at Christmas, but we didn't expect...


this! Yikes it was freezing...20 degrees and a wind chill factor I'd rather not mention.


We packed for all kinds of weather, so we were all set!


No matter the weather this is still a magical place.


Details are every where in Disney!


We all had such a great time...so I'll have more pictures to come this week. Just wanted to stop in and say hi and will catch up on emails this week. Unfortunately, we caught a stomach virus or the flu while we were there. Hubby had it on the last day and I had it on the ride home on Saturday. BAD!! Poor Courtney woke up with it this morning too. So happy we're home for her. Seems to be on an every other day schedule. Kelsie and Courtland are doomed I think!

Have a great day and stay healthy,
~Karen~

Monday, December 20, 2010

Tool Time Tuesday...Handmade Fabric Gift Bags

Happy Tool Time Tuesday! This is it...the last Tuesday before Christmas, so I thought I would show you how to make a super quick fabric gift bag. I know...sewing, but even if you don't sew very often, you can make these. All they have are 2 straight seams. Easy!

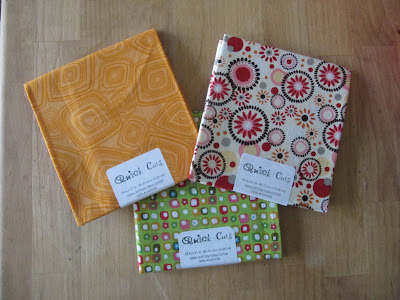
What's the "Tool" of the day? These cuties...they are called Fat Quarters in the quilt world, but some fabric stores have their own name for them. A Fat Quarter is a yard of fabric that is opened up to it's full width, so it would be 36 inches by usually 44 inches. Then that piece of fabric is cut into quarters. Each piece is then 18 inches by 22 inches. Click here for the explanation I did a while back. If you by a quarter of a yard right off the bolt, that measurement would be 9 inches by 44 inches. Buying a Fat Quarter, it's still a quarter of a yard, but Fatter!

You can find Fat Quarters at most larger fabric chain store and your local quilt shop. The big advantages to buying the pre cut Fat Quarters are

  • it's quick...no waiting in the cutting line
  • they're a great size for crafting
  • you can buy a variety of different fabrics and not spend a lot of money
  • they usually cost about $2.00 -$2.50 each, sometimes less if they are on sale. My sister bought these for me...and I think they were only $1.00!!


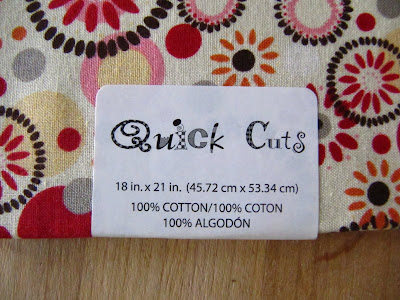
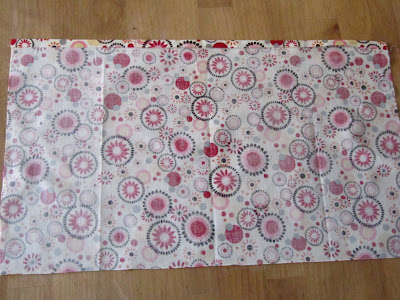
Some measurements are dependent how wide the fabric was to begin with. This fat quarter is 18" by 21".


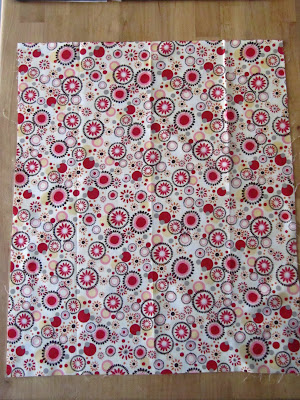
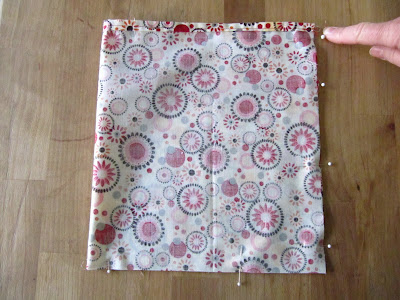
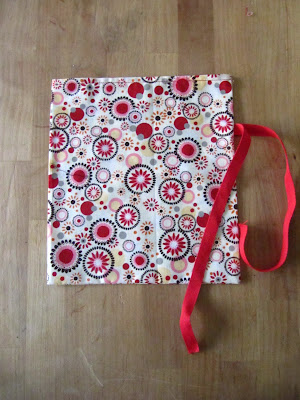
Here's a quick tutorial to make 2 gift bags from one fat quarter. Open up the fabric...this piece has the 18 inches on the bottom of the picture.


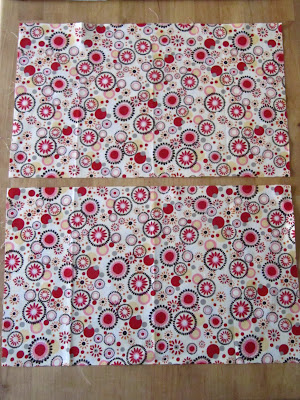
Cut it in half, so each piece is now roughly 18 inches wide by 11 inches tall.


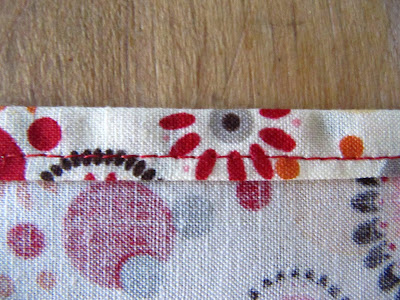
Take one of those pieces and fold over the top edge about 1/2 inch...


and iron flat.


Fold over again to have a nice clean edge...hiding the raw edge.


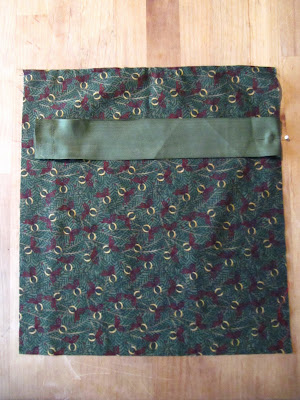
Sew a straight seam across the top.


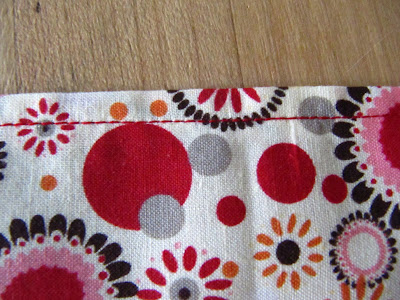
Here is the finished edge on the right side of the fabric.


Now take a matching ribbon about 24 inches long or so.
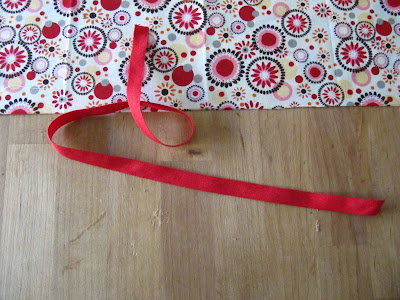


Fold it in half.


Now take the folded end...


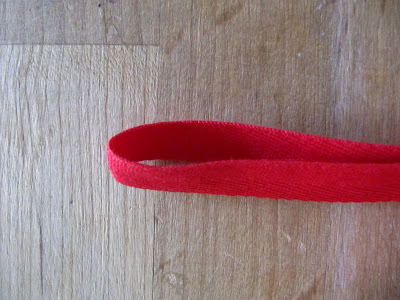
and place it about 2 1/2 - 3 inches down from the top of the seam you just sewed.
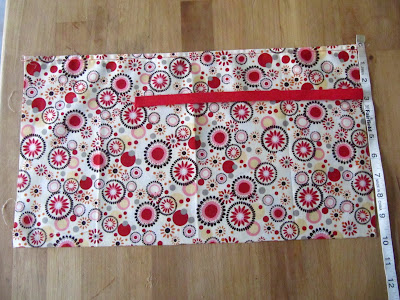


Pin in place.


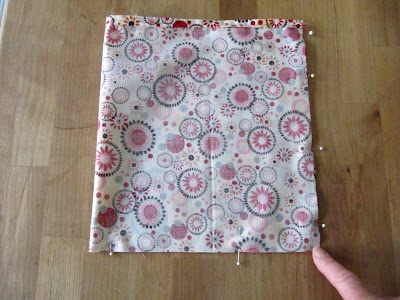
Now take the left edge and fold it over to the right edge. Right sides together.


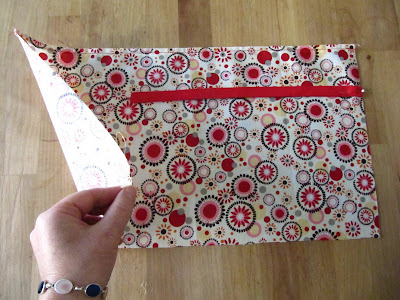
Pin the sides and the bottom together. I sewed with a 1/4 inch seam.


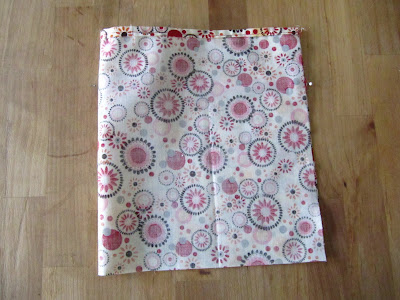
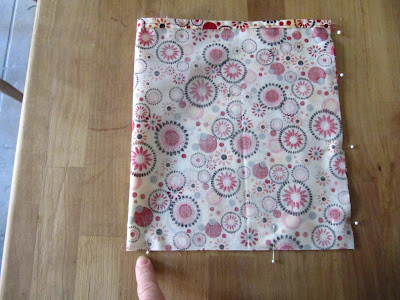
Now, starting at the top right edge, sew down the side...


leave your needle down at the bottom corner and pivot or turn the fabric...


and then sew across the bottom left edge. Back stitch at the beginning and the end to secure the seams.


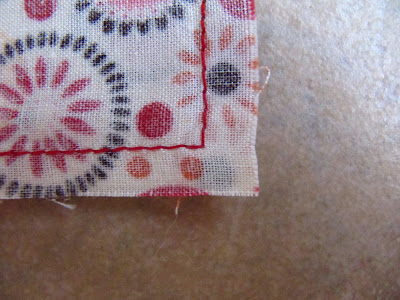
This is a close up of the pivot at the corner. If you pivot and turn the fabric, it's only one quick seam with one motion!


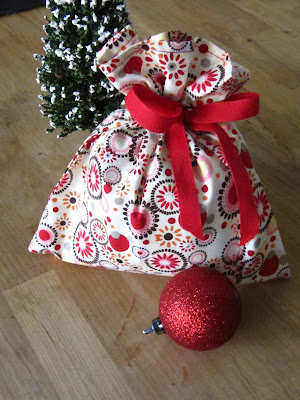
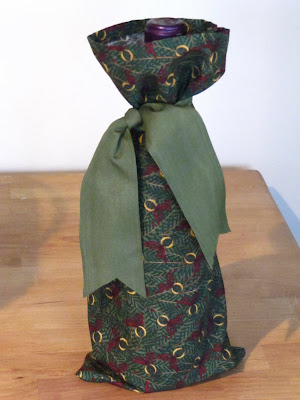
Turn right side out, iron the seams and you're done! A fast, and re-usable fabric gift bag with a tie already attached.


Just fill with goodies and you're good to go!


Don't forget...you get 2 of these bags from one fat quarter.


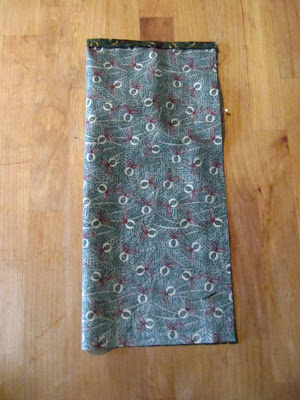
Here's another idea for a wine bottle gift bag. You'll get one bag from one fat quarter.


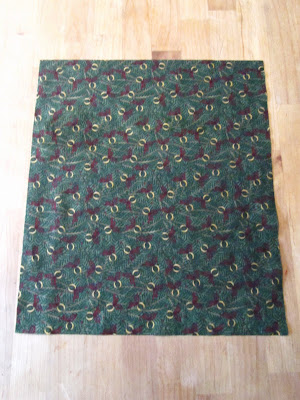
This measurement may vary depending on how fat your wine bottle is. ( wow, I've said the word Fat a lot in this post...not a good time of year to use that word as I'm eating a cookie as I type!) My measurement was about 13 inches by 15 inches. You can always use the strips that you cut away to make a matching tie for the bag too!!


The steps are all the same. Finish the top edge, add your folded ribbon or tie...


Fold over the left side to the right and sew your 1/4" seam.


Quick, easy and "sew" pretty for a bottle of wine.


Don't forget to make a set of matching coasters. Click here for the tutorial. You can use them as a regular coaster under the glass...


or as a snuggie coaster that stays on the bottom of the glass.


Always stays on to protect your table.


Great last minute gift set idea! A bottle of wine in your gift bag, glasses and a set of matching coasters.


Have a wonderful Tuesday. Now get out there and buy some fat quarters and have fun making these bags!
space
~Karen~

Wisata Danau Toba - Sumatera Utara

Danau Toba adalah salah satu destinasi wisata alam terbesar di Indonesia dan terletak di Sumatera Utara. Ini adalah danau vulkanik terbesar ...