Monday, October 18, 2010

Blog Buddy...How To Change Your Comment Label

Welcome to the second installment of Blog Buddy...a place where you'll find blogging help from a NON expert who just finds her way around this blog with a click here and a click there, with a few mistakes along the way. This button below is on my side bar. Click over there or the link above for the first post if you missed it yesterday.


I had a few questions from friends on how to change the word "Comment" at the bottom of a post to something fun or custom to your blog.

Well, I figured it out last night...so here we go!

See at the bottom of this post, where it says 15 Wonderful people left a comment? I just changed that last night!
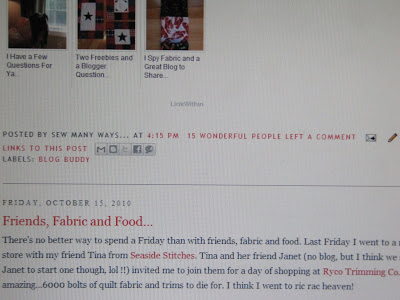

Normally it just says the number and the word Comments.
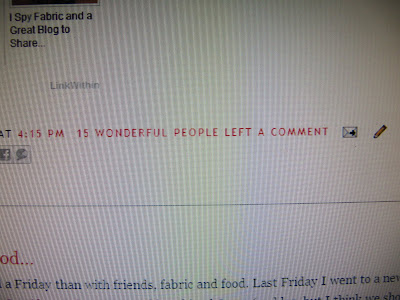

Here's how to change it...Go to your Dashboard.
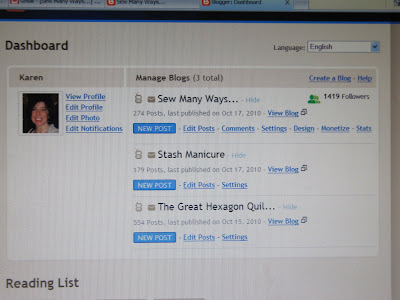

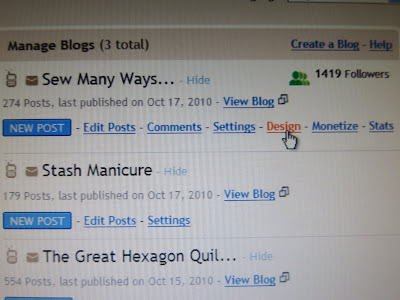
Click the DESIGN button on the blog you want to change.


The Add and Arrange Page Elements page comes up.
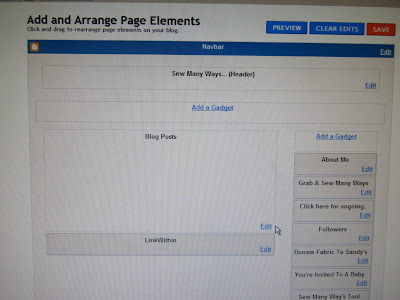


See the Blog Posts Box in the middle (well, mine is in the middle, because that's where I have mine arranged) Anyway, go to your Blog Post Box and in the lower right corner, click the EDIT button.
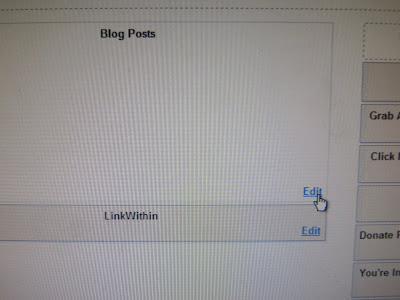


A pop up window called Configure Blog Posts comes up.
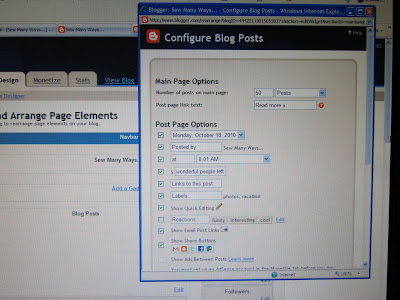


You can enlarge that to full screen if you'd like. Go to the second section called Post Page Options.
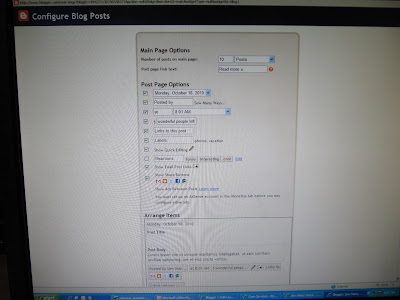


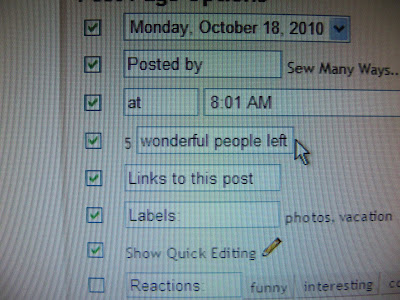
The 4th line down should have a made up number representing the number of comments that will come in to that post and then a box that says "Comments". Click the cursor in that box and write what ever you'd like. You can delete the word comment first. The example of the number stays there, but I suggest you say the phrase in your head first, so it sounds ok before you type it. For example...the phrase has to make sense with the number before it. You can't type "Thanks for leaving a comment"...because it will actually say at the bottom of you post..."5 Thanks for leaving a comment". Say it with a number first. Does that make sense? It's so hard to describe directions in print. LOL You can see in the box in my picture that part of the phrase is missing...it's in there just not enough space in the box. My box actually says "wonderful people left a comment". Once you save it, and then find you don't like it, just go back in and do it again.


Just underneath that section is another part that you can fiddle with. This is the Arrange Items section. You can click and drag those elements at the bottom of the post to where ever you want...well, actually not any where, but you know what I mean. You can change where the date of a post goes or the title or the comment that you just changed etc...
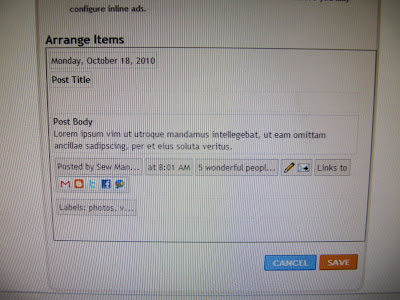


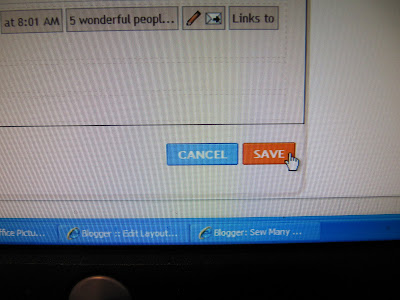
However, here is the most IMPORTANT part of any blog changing...the SAVE button. You can do all the work and changing you want, but if you don't click that SAVE button when you are done, all your work was for nothing. So Click it!


I have other features coming up, so stay tuned. I was going to list different things on one post, but I think I'll do it like this...one topic at a time. If there are random things, I'll do one of the bullet posts where it will be a quick read.

See you tomorrow for Tool Time Tuesday...it's a Christmas theme!
~Karen~

Sunday, October 17, 2010

Blog Buddy...

What is a blog buddy you ask. Well, I have had so many emails asking me different questions about blogging, pictures, emails, blog buttons, how to follow a blog, etc...I thought I would start a feature on my blog called Blog Buddy. This ongoing section of my blog will give tips and helpful hints for you, your computer, your blog and blogging in general. I blog through Blogger, so most of the info will be about Blogger. This will be a "go to" feature for blogging help.

First, let me start by saying I am a self taught computer person and blogger. What ever I share with you is what I've learned along the way, from friends, family and most certainly from mistakes I've made in the past. I am definitely NOT an expert! LOL

So, I hope you can join me in yet another journey into blogging and by all means please add anything you'd like to share about your experience with blogging and computers in the comment section for all to read.

Here's the first TIP: did you know there is a box you can check that will allow all the comments from a post to be sent to your email. That way you don't have to go back to a blog post over and over to see what everyone has said after your comment. The little box you have to check is located under the big box you write your comment in. It says "Email follow-up comments to"... (and then your email address will be there.) How easy is that to read all the comments to a post that you are really interested in. They are all sent to you!

This button below will be in my side bar. If you ever need a helping hand in blogging, just click on the button and it will bring you to all the posts in this feature. It's your "helpful friend" in the blogging world.


My biggest hurdle for this feature is...Where to start. How do I organize everything and what should come first. Well, there is so much involved, I'm just jumping in feet first with no rhyme or reason. I'll try to use bullets instead of wordy paragraphs for easy reading...so wish me luck!!!

IN THE BEGINNING...the start up.
Whether you are going to write a blog or just reading your favorite blogs, starting a Blogger account will help keep track of blogs and allows for commenting on blogs and email exchanges with you and other bloggers.
  • create a blog account on Blogger. Go go www.blogger.com to sign up. It's FREE !!
  • you don't have to write a blog when you sign up
  • a Blogger account allows you to have a Dashboard where you can keep track of all you favorite blogs. The dashboard will also link to Google reader.
  • click the "FOLLOW" button on your favorite blog and the address of that blog automatically goes into your dashboard. It will post the most recent blog post for you , instead of going back to a blog to see if they have posted something new. You can also subscribe by RSS (really simple syndication) feeder.
  • I also recommend starting a Gmail account. That's free too!! More on why in a minute.
  • did you know Google owns Blogger and Gmail is a part of Google, so it's well connected.
  • Picasa is also part of Google, so it's free when you sign up for Blogger. You can organize and edit the pictures you load to your blog through Picasa.
  • Google reader is also on your dashboard. Under your Reading List, on the bottom right side is a button to click for Google reader. It shows all the blogs you are following in full with their pictures, instead of the one small picture in the Reading List.
  • Getting back to opening a Gmail account...it will make your life easier. I started a Gmail account when I started my Blogger account. I wanted to keep my blogging emails separate from my home/personal email.
  • when any one leaves a comment on my blog it goes right to my Gmail address. On that one email, I can click a link to the post they commented on, I can click on a link to the commenter's profile and their blog and I can reply back to them right from there...so easy. I will do a separate post just on Gmail alone in the future...there are so many features to talk about on Gmail

Well, I think I'll stop here for now....too much info all at once isn't good. This first post is just the basics in starting. It will help those who are afraid to take the first step. If you were thinking about starting a blog DO IT!!! It was the best thing I've ever done. It opened up a whole new world of friends and inspiration. You may think you don't have anything to share or write about, but believe me EVERYONE has something that will help someone else...so give it a try.

See you at the next Blog Buddy post,

~Karen~
ps...I have no affiliation with Blogger or Gmail or Google...just wanted to share some info

Friday, October 15, 2010

Friends, Fabric and Food...

There's no better way to spend a Friday than with friends, fabric and food. Last Friday I went to a new to me fabric store with my friend Tina from Seaside Stitches. Tina and her friend Janet (no blog, but I think we should convince Janet to start one though, lol !!) invited me to join them for a day of shopping at Ryco Trimming Co. This store is amazing...6000 bolts of quilt fabric and trims to die for. I think I went to ric rac heaven!

Another blogging friend, Shellie, from Shellie Sews, works at Ryco. It was so wonderful to finally meet her in person.

The picture below was taken in the store. Tina on the left, Shellie in the middle and then me on the right. Next time we'll remember to take a picture with Janet and my sister...they were taking this photo.


Here are a few of the things I purchased that day. Isn't this the cutest Halloween fabric from RJR.
space


and great Christmas fabric too!


Here is a picture of the trim I purchased. I could have stayed in that section all day.


Isn't this JUMBO ric rac the best.


My sister happen to call me while I was in the fabric store, so she met us there too. We all went for lunch and had a great time. I made 2 wonderful new friends in Shellie and Janet that day.

Thanks ladies for a wonderful time!

If you want to follow two wonderful blogs, hop on over to Tina's and Shellie's blogs...they are fabulous. So many great quilts, projects and pictures. Here are their links...Seaside Stitches and Shellie Sews
space
Have a great Friday,
~Karen~

Wednesday, October 13, 2010

Sweet Potato Casserole Recipe...

Just thinking ahead to Thanksgiving...thought I would share a family favorite recipe. Great any time of the year though, not just for the holidays.
space
space
SWEET POTATO CASSEROLE

4-6 sweet potatoes, boiled in the skin until tender, then peeled
½ cup Karo clear corn syrup
½ cup melted butter
½ cup white sugar
2 eggs, slightly beaten
1 Tablespoon vanilla extract (you read that correctly...1 Tablespoon, yummy!)

DIRECTIONS: mash the peeled sweet potatoes in a bowl and add all of the above ingredients. Spoon sweet potato mixture into a casserole dish and sprinkle with topping mixture below.

TOPPING: blend the following ingredients into a crumble
1/3 cup butter, cut into cubes
1/3 cup flour
½ cup chopped pecans (optional)
½ cup packed brown sugar

BAKE AT 350* FOR 25-30 MINUTES
space
space
This is my absolute favorite recipe. This is pretty much all I eat...that and all the other veggies. I love the turnips and squash and...ok, I give up...I love every thing!!
space
If you want to print this recipe from this blog page, just place the cursor at the top of recipe, left click and drag to high light the whole recipe. Right click the high lighted part and click print. When the next window opens up, check off the box that says SELECTION and then click print. Only the high lighted recipe will print.
space
Have a great Wednesday,
~Karen~
Monday, October 11, 2010

Sew Many Magnetic Pin Holders...

Hello everyone. Hope you had a wonderful long weekend. Ours was great, but busy. I had so many posts I wanted to write up, but no time to do them, maybe Wednesday. After all...tomorrow is another day! (make sure you say that like Scarlett though)

Onto Tool Time...seems like I'm stuck on magnets lately. Last week's TTT was the magnetic business cards and this week you can turn anything into a magnetic pin or needle holder and I mean anything!

This package of 8 round magnets was $3.00 at a craft store.


These are 3/4 of an inch wide by about 1/4 of an inch thick, but they come in many different sizes.


Just take a look around your house for anything that will hold pins and then hot glue the magnets to the bottom and presto...a magnetic pin holder. You will have to decide how many magnets to glue on depending on the size of the item and the thickness of it. I used 1-3 magnets for the following examples. Glue them on and then test how well it holds all the pins. Add more magnets if needed. Here are a few examples...
space
How about a sea shell from that favorite beach vacation.


This was a Martha Stewart soap dish on clearance for $1.00. The girls use a pump soap dispenser in their bathroom, so this was never used.


This is an antique glass butter dish.


A little crystal heart.


A small porcelain dish.


A tea bag holder. I have a few of these that I don't use, because I keep my tea bag in my tea cup...nice and strong that way!


This is a little dish from my Christmas dish set. Great to change out your pin holder for the season.


This is a pillar candle holder for the fall...also on clearance last year.


Look for unusual things too. This is a ceramic Christmas ornament, but flat like a dish, so it works great.


Do you have a sentimental tea cup saucer that you may have broken the tea cup. You can also find saucers in yard sales or thrift stores. They are always cheaper when they've lost the cup.


This is a tiny wooden bowl. Magnets work great through wood too.


How about a cardboard jewelry box.


A tiny metal tray.


Last, but certainly not least, a little ceramic heart tray...perfect for your Valentine.


The possibilities for magnetic pin holders are endless. Don't forget recycling too. Peanut butter jar covers, plastic containers, frozen food trays or metal tins. Anything can work...just take a look around.

These pin holders will also make great gifts for sewing friends for Christmas or a special day. You can personalize the pin holder with that person's favorite thing. If she loves tea, how about a basket filled with the ceramic tea bag holder idea, a package of pins, a cup and saucer, some tea bags and a jar of honey. Tea-rific! (sorry...couldn't resist)

Have a wonderful Tuesday,
~Karen~
I'm linking to Somewhat Simple's Strut Your Stuff Party (button on my side bar)

Monday, October 4, 2010

Tool Time Tuesday...Magnetic Business Card Ideas

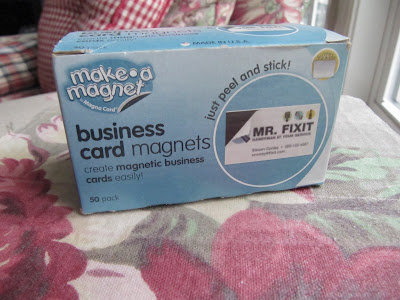
This Tuesday finds us back at Home Depot again. I think I'm there more than the fabric store!! I found these magnetic business cards in the key making section. I'm sure all hardware stores sell them. Carpenters, plumbers, electricians would use them to adhere their business cards to and then they become advertising magnets for the refrigerator. They also sell them in office supply stores, but I've said it a hundred times before...things are cheaper in the hardware store, because they don't know what they have. If they knew crafters and quilters were in there, they would raise the prices. Shhhh...don't tell them.


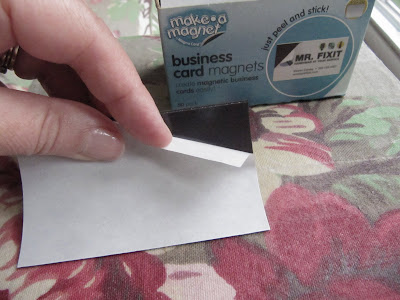
This box of 50 was only $10.00. They are much more in other stores. They could be cheaper online, so shop around. All you do is peel away the paper and stick on your business card, maybe from your blog or etsy shop. However, you know me...I'll think of something else.


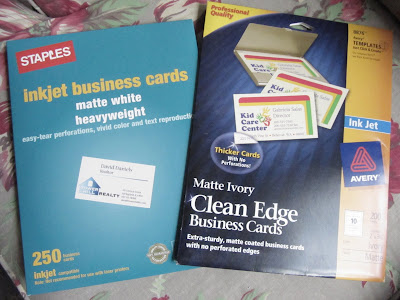
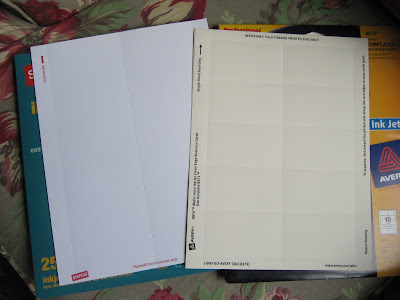
You can really just use regular paper or card stock with your own design, but I thought I would show you the world of packaged business cards for your printer. I might do another whole post just on the uses of business cards (because I have a lot), but these instructions are for printing for the magnets.

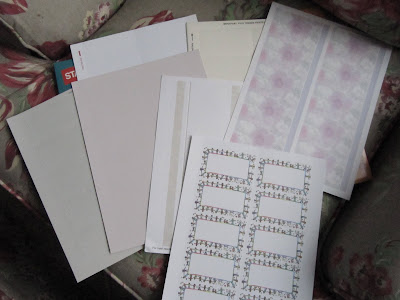
Business cards come in many different styles and colors.


White, cream...


and many, many more!


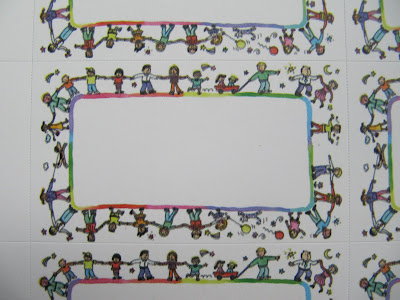
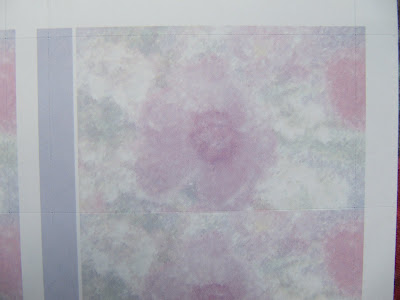
Here are a few close-ups.


If you use business cards for the computer, all you do is print, peel and stick.


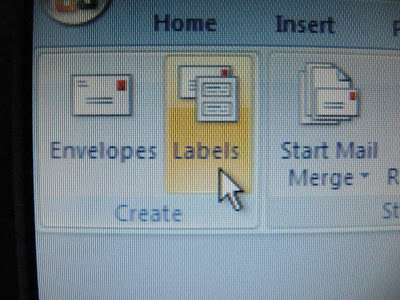
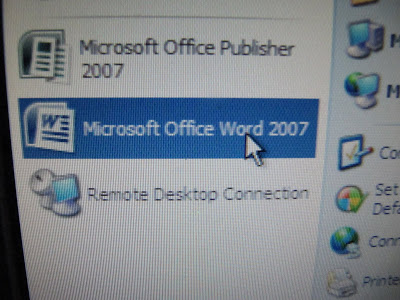
Here is a quick tutorial for using Microsoft Word. Click on it from your desktop.


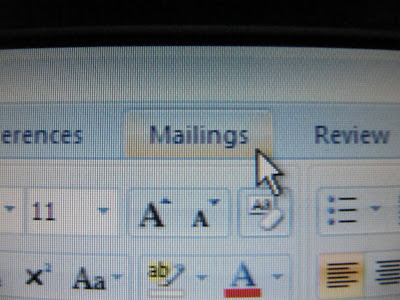
Once Microsoft Word opens, click on MAILINGS at the top.


Then click on LABELS at the left.


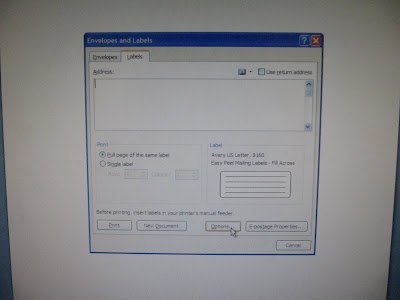
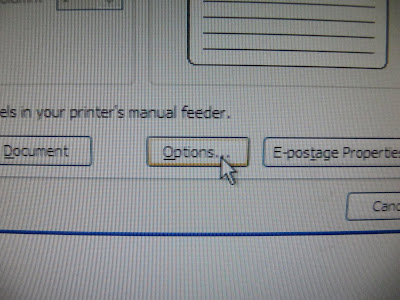
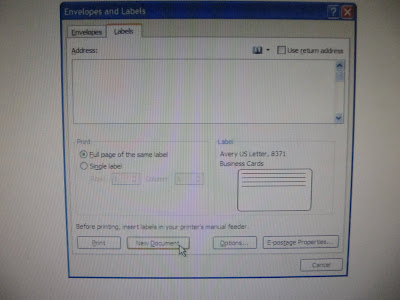
A pop up window appears that looks like this. At the bottom middle is an OPTIONS button.


Click OPTIONS.


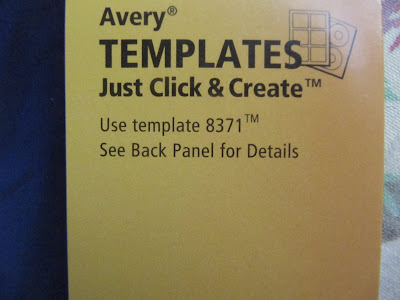
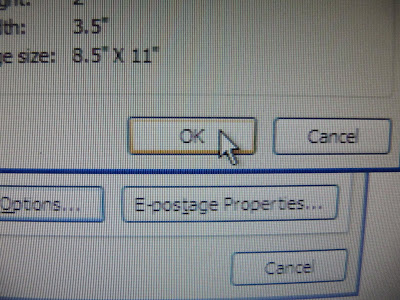
Find out from your package of business cards what your template number is. This one is Avery 8371.


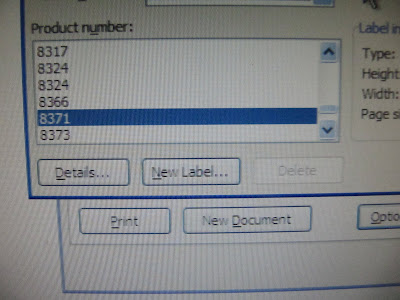
In that OPTIONS window, you will scroll down to find your template number.


Click OK...


At the next window, click NEW DOCUMENT, down there at the bottom.


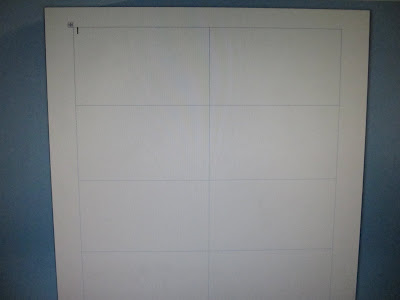
The template that matches your business cards will appear.


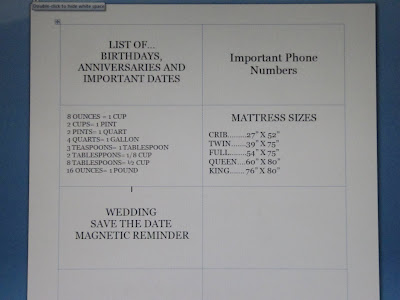
Just type and print. There are a few adjustments if it's your first time....like centering, size of fonts etc. So when you are ready to print something, print on plain piece of paper then hold it up to the blank sheet of business cards to make sure the print is where you want it. Then print on the business card sheet.


Print away. Try to use the whole sheet, so you don't waste any cards like I did here.


Here's a close-up.


Separate on the perforations...


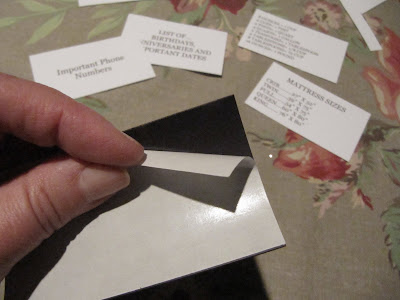
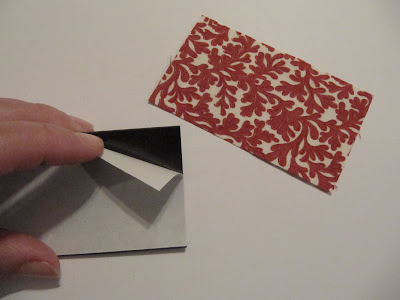
Peel paper away from front side of magnet.


and stick the card on.


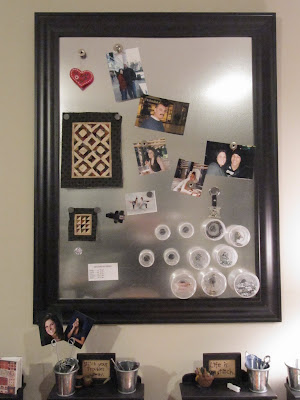
Here it is on my magnetic memo board in my sewing room...see it on the bottom left. Right where I can always see it! The tutorial for the memo board can be found HERE. There is also a tutorial for those take out container on the bottom right HERE. I use those to store tiny things.


How about a fabric magnet to match your kitchen or craft room. The magnets are 2" x 3 1/2". Easy and great gifts too.


Too cute!


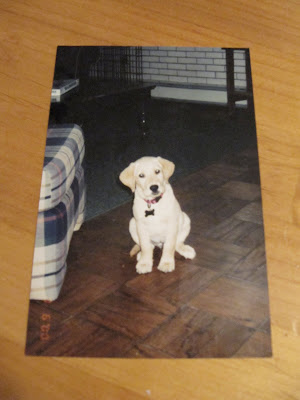
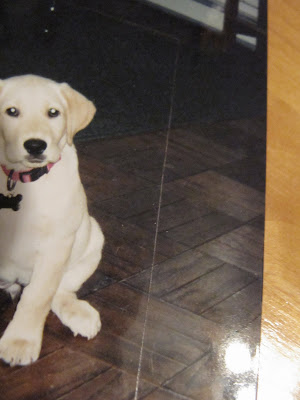
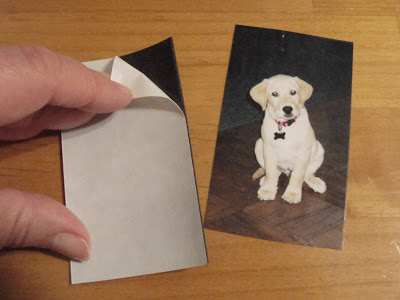
A picture magnet is another great gift idea or just a cute addition to your frig. Here's Annie 10 years ago.


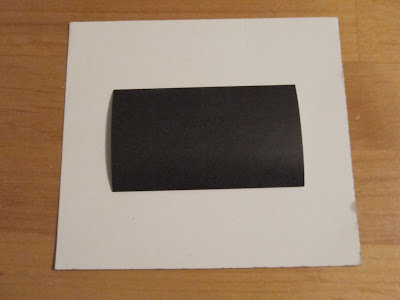
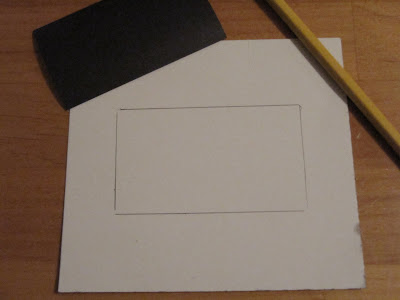
Trying to center the picture on the magnet can be tricky, so take a piece of card board and trace your magnet.


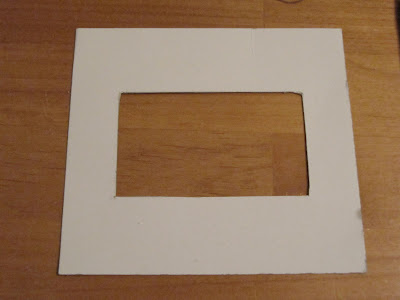
Cut out the center of the card board.


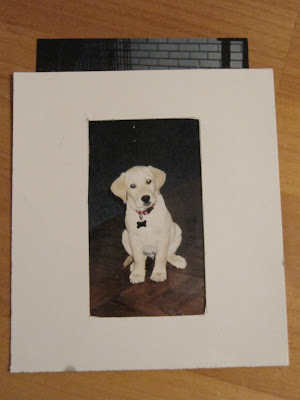
Now you have the perfect "window" to trace around your picture.


Cut out along the pencil line.


Peel and stick.


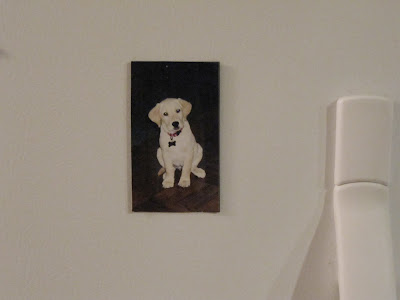
and here's Annie, as a puppy, on the refrigerator.


The cutest magnet to hold up her reminder card for her vet appointment.


There are so many other uses for these magnetic cards.

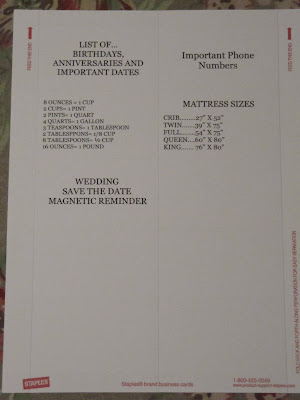
How about all those important phone numbers.
  • great for the baby sitter
  • emergency numbers for your child to have with a quick look at it on the frig at his/her eye level
  • important numbers for your school aged child and it will stick inside their LOCKER!!


A list of all those important dates...a great quick reminder when they are always there at a glance.


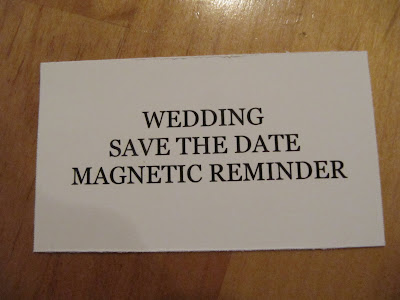
How about sending a beautifully designed magnet as a SAVE THE DATE card for a wedding. There are so many beautiful business cards just for weddings, this would be perfect.


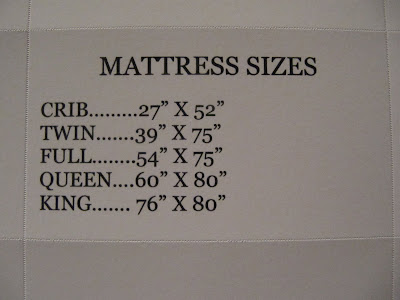
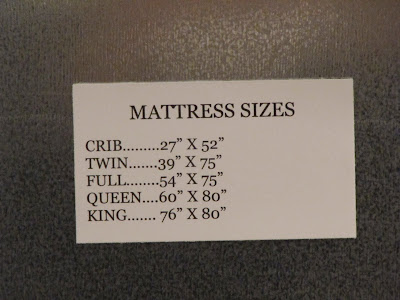
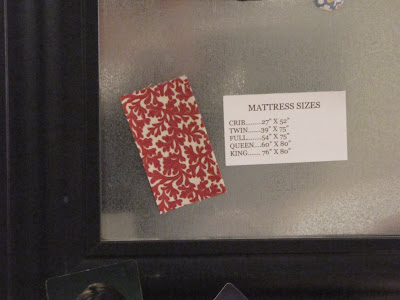
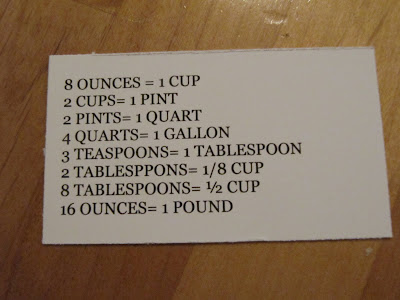
and how about your favorite MEASUREMENT EQUIVALENT CHART. You can design the one you would use the most.


The ideas are limitless for these cards. I have another idea in the works. If I finish it this week, I'll pass it on.

If you have any ideas and want to share, just let us know in your comments.
space
Remember...always think outside the box.
space
Happy Tuesday,
~Karen~
Wisata Danau Toba - Sumatera Utara

Danau Toba adalah salah satu destinasi wisata alam terbesar di Indonesia dan terletak di Sumatera Utara. Ini adalah danau vulkanik terbesar ...