Happy Tuesday! How would you like to make an adorable pincushion for 25 cents or less with scraps and a kitchen sponge?
You read it right...a kitchen sponge. Use a new one of course, because that would be gross if we didn't...LOL
Isn't she pretty? These would make great gifts for sewing friends for swaps, guilds, quilting bees, holidays etc

Here's where it started...in the dollar section of CVS. I know some dollar stores probably sell them more to a package for a dollar, so look there too.

4 sponges for $1.00

Ok this is the easiest project if we just used it as a pincushion straight out of the package, but we like to create, sew, make things pretty...

So let's do it. Let's make it pretty. Measure the length.

and the width.

This sponge isn't very thick, but some are, so take the height of your sponge into consideration.

Now the creating part...use anything you have in your scrap bin. These are selvage edges of fabric that I won in a give away a loooong time ago. I knew I would use them at some point. This is why we NEVER throw things away.
Selvage or selvedge (Webster dictionary has it spelled both ways for this meaning) is a specially woven edge that prevents cloth from raveling.

Lay out the selvage strips, over lapping the raw edge just a little. Because the white part is woven, it won't unravel and can be left as a finished edge.

Pin all pieces in place...

Overlap the edges just a little to catch the bottom fabric when top stitching.

Just sew a straight stitch on top of the finished edge.

Here is a close up...see the stitching under the words "all right" ?

Sew 2 sections for the front and back of the pillow.

Trim to keep sections the same size according to the size of your sponge.

Now place sections right sides together and sew around the four sides leaving an opening to turn and stuff the sponge in.

Turn right side out.

Here's the opening...

Now stuff in the sponge..
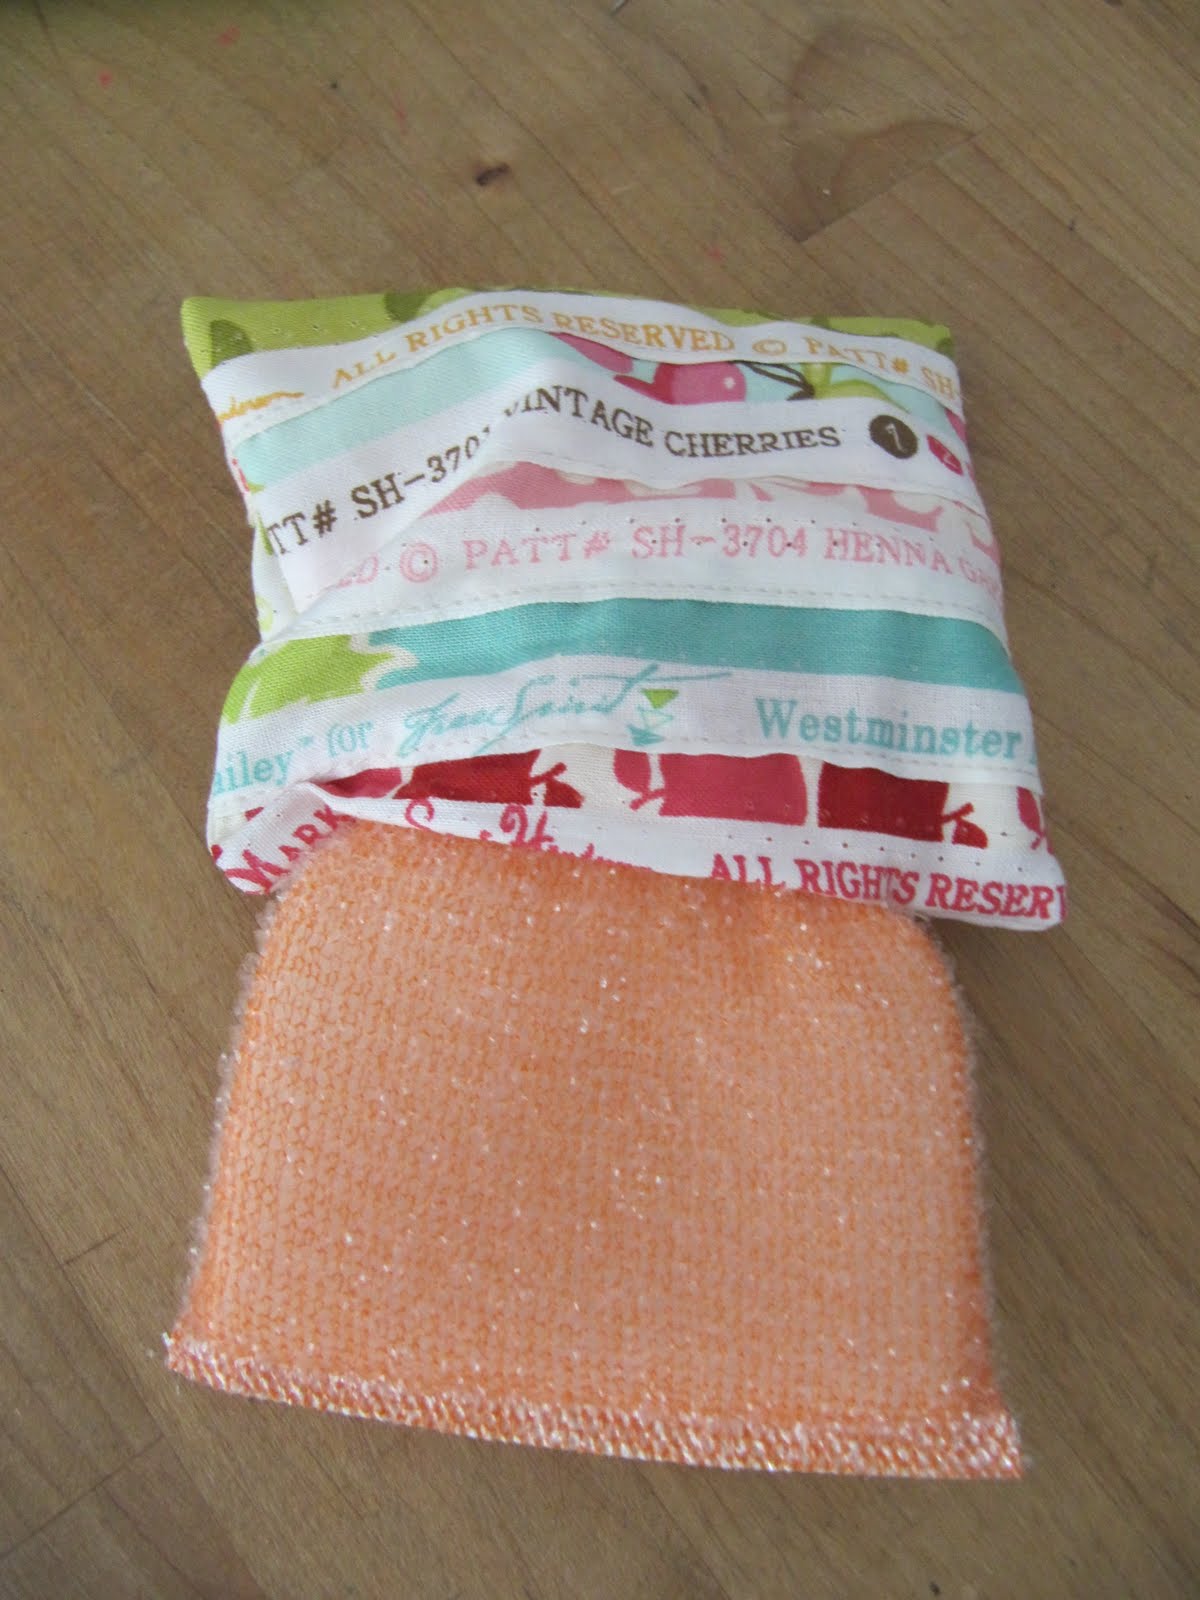
Work in the corners of the sponge to fit the corners of your pincushion cover.

Pin the opening closed and either machine stitch closed or hand whip it.

Here is one side.

and here is the other.

Just perfect and practically free.

A lesson learned...never throw out scraps.

You can also make a thicker pincushion by using 2 sponges on top of each other or by folding the sponge in half and stitch it to hold.

It will make a smaller, but thicker pincushion.

Now what to call a pincushion made from a sponge...
- spongecushion
- spincushion
- pinkitchen
Have a great Tuesday,
~Karen~


No comments:
Post a Comment